As a Professional TechGeek, my main hobby is to learn and collect new hobbies. From board games, video games, tech, and devices. But my main obsession right now is 3D printing.
For years I’ve been following the 3D printing and “maker” scene, but I always thought it was too complicated and a lot of work. I always thought you needed all these special machines, materials and then be able to program them. To my surprise, after stumbling on a review video for a new Bambu Lab 3D printer, it seems easier than expected.
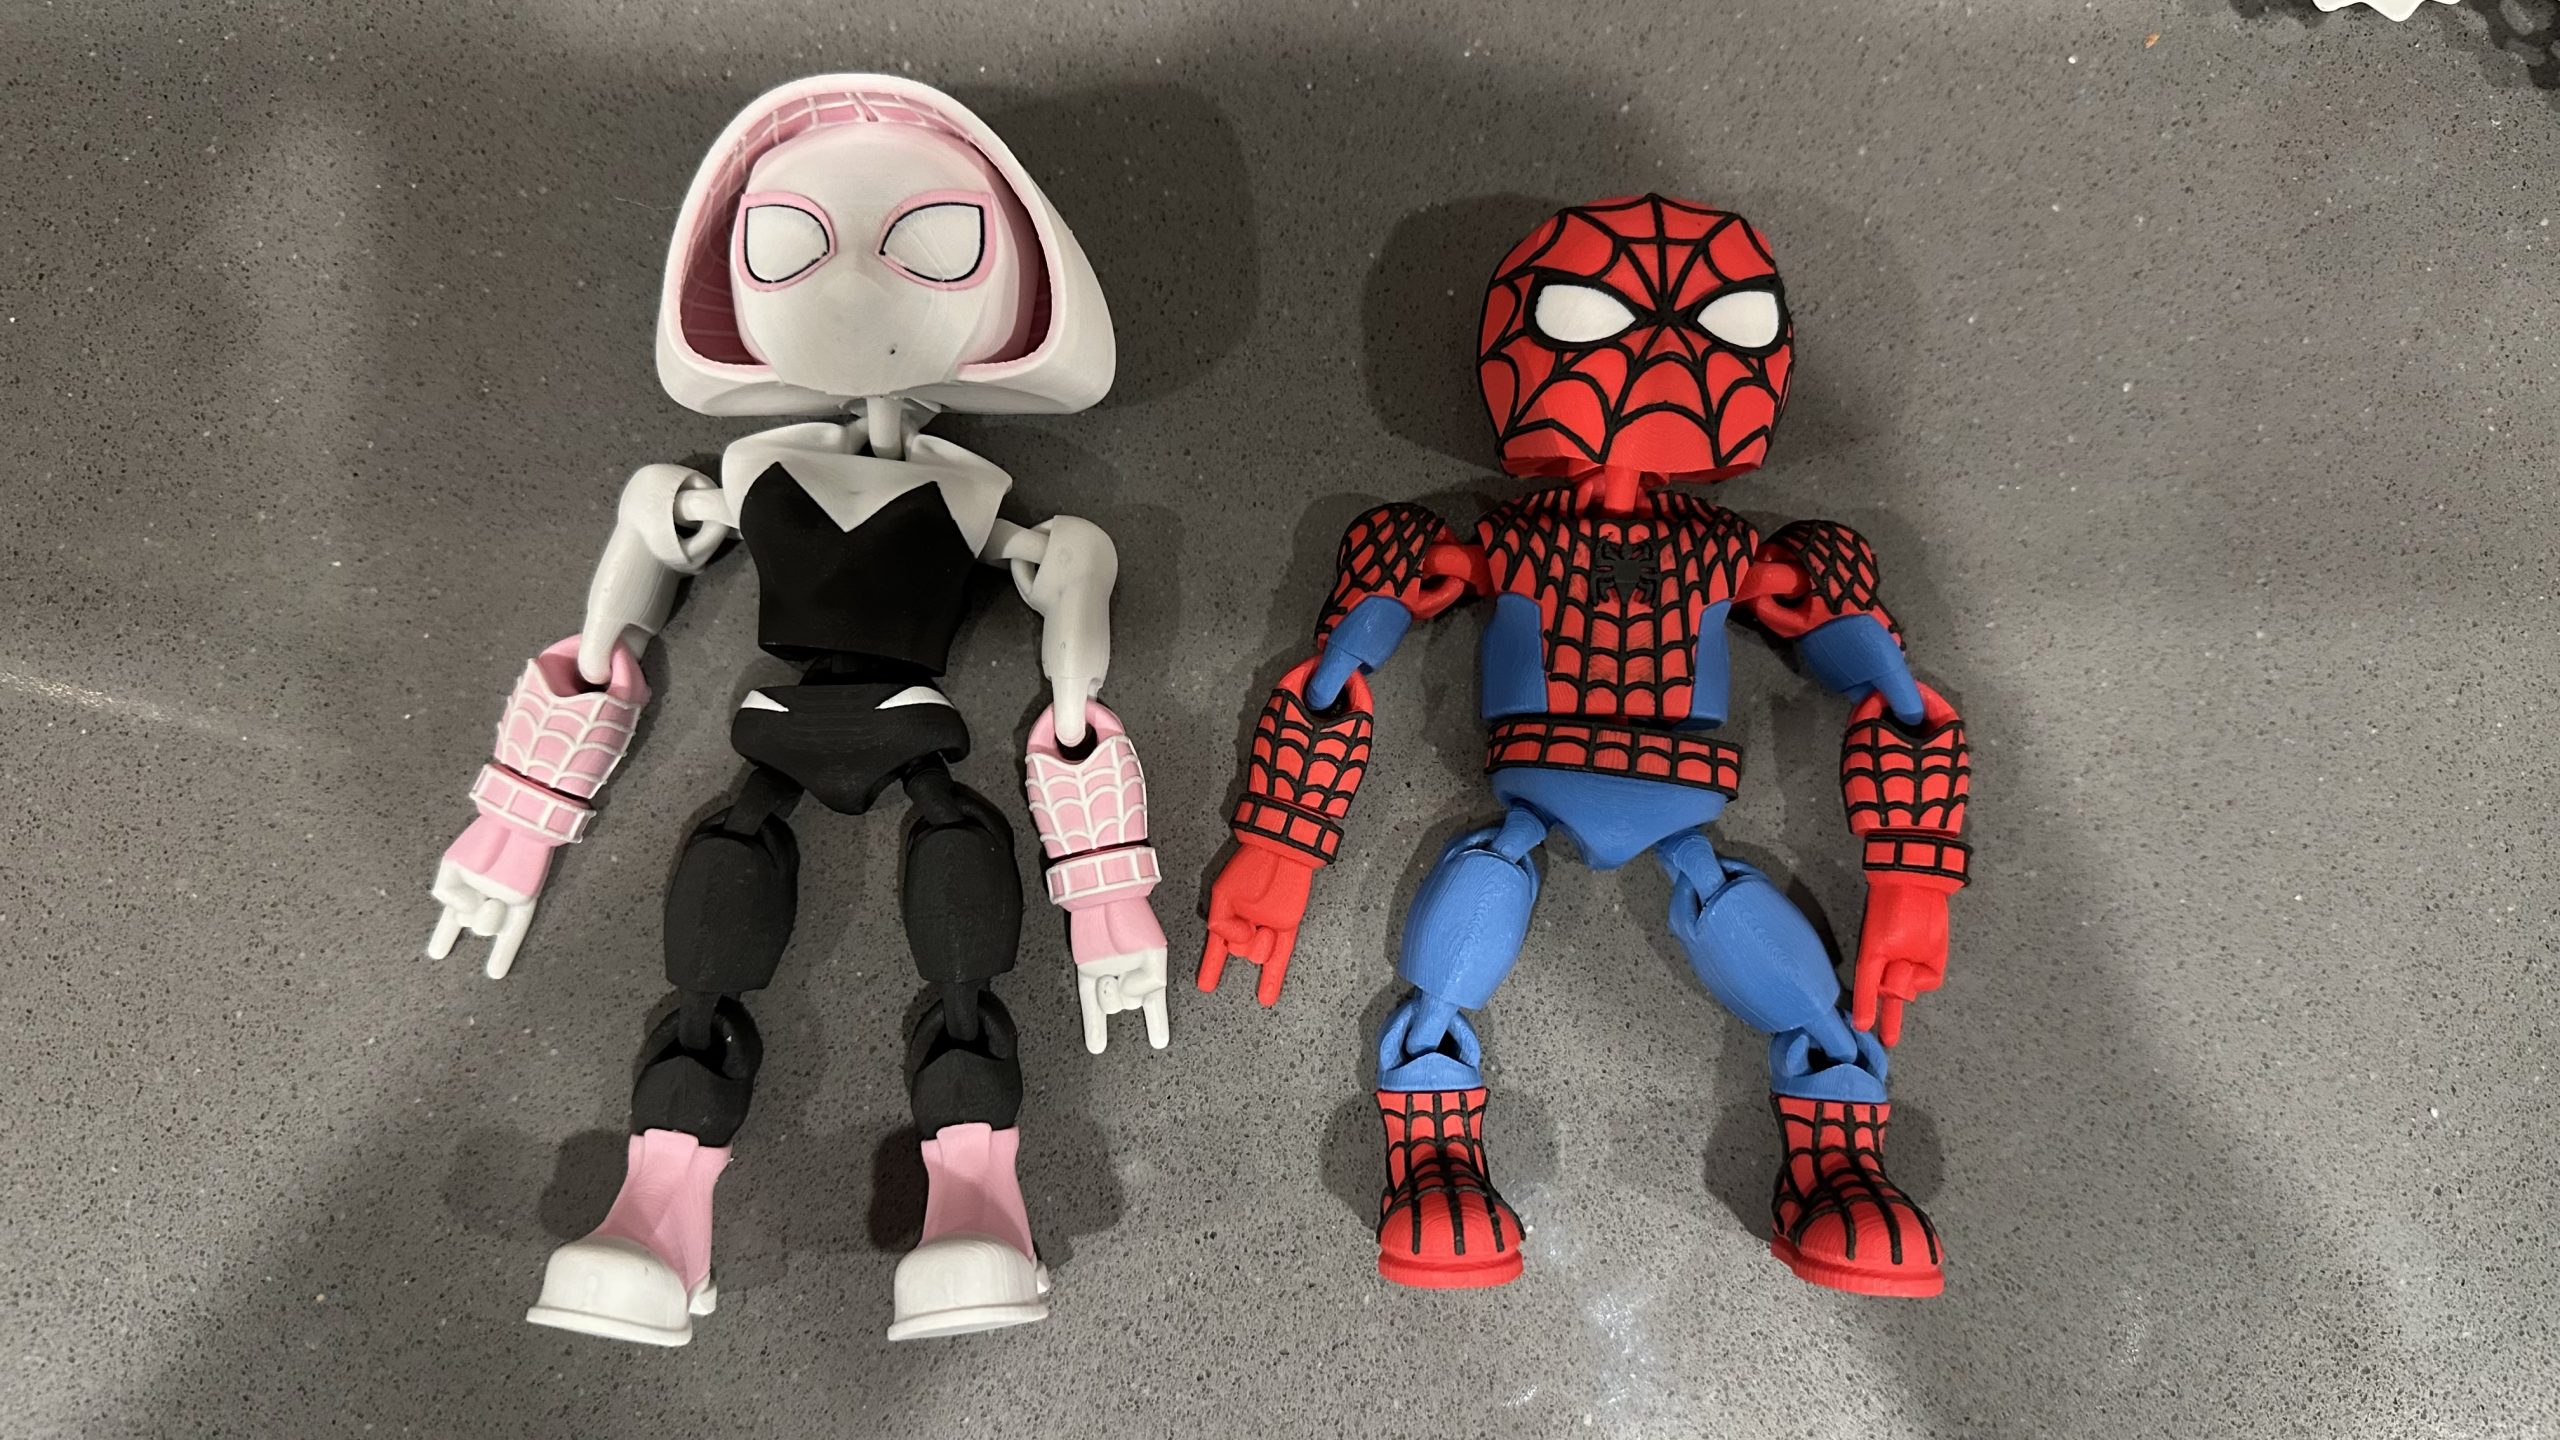
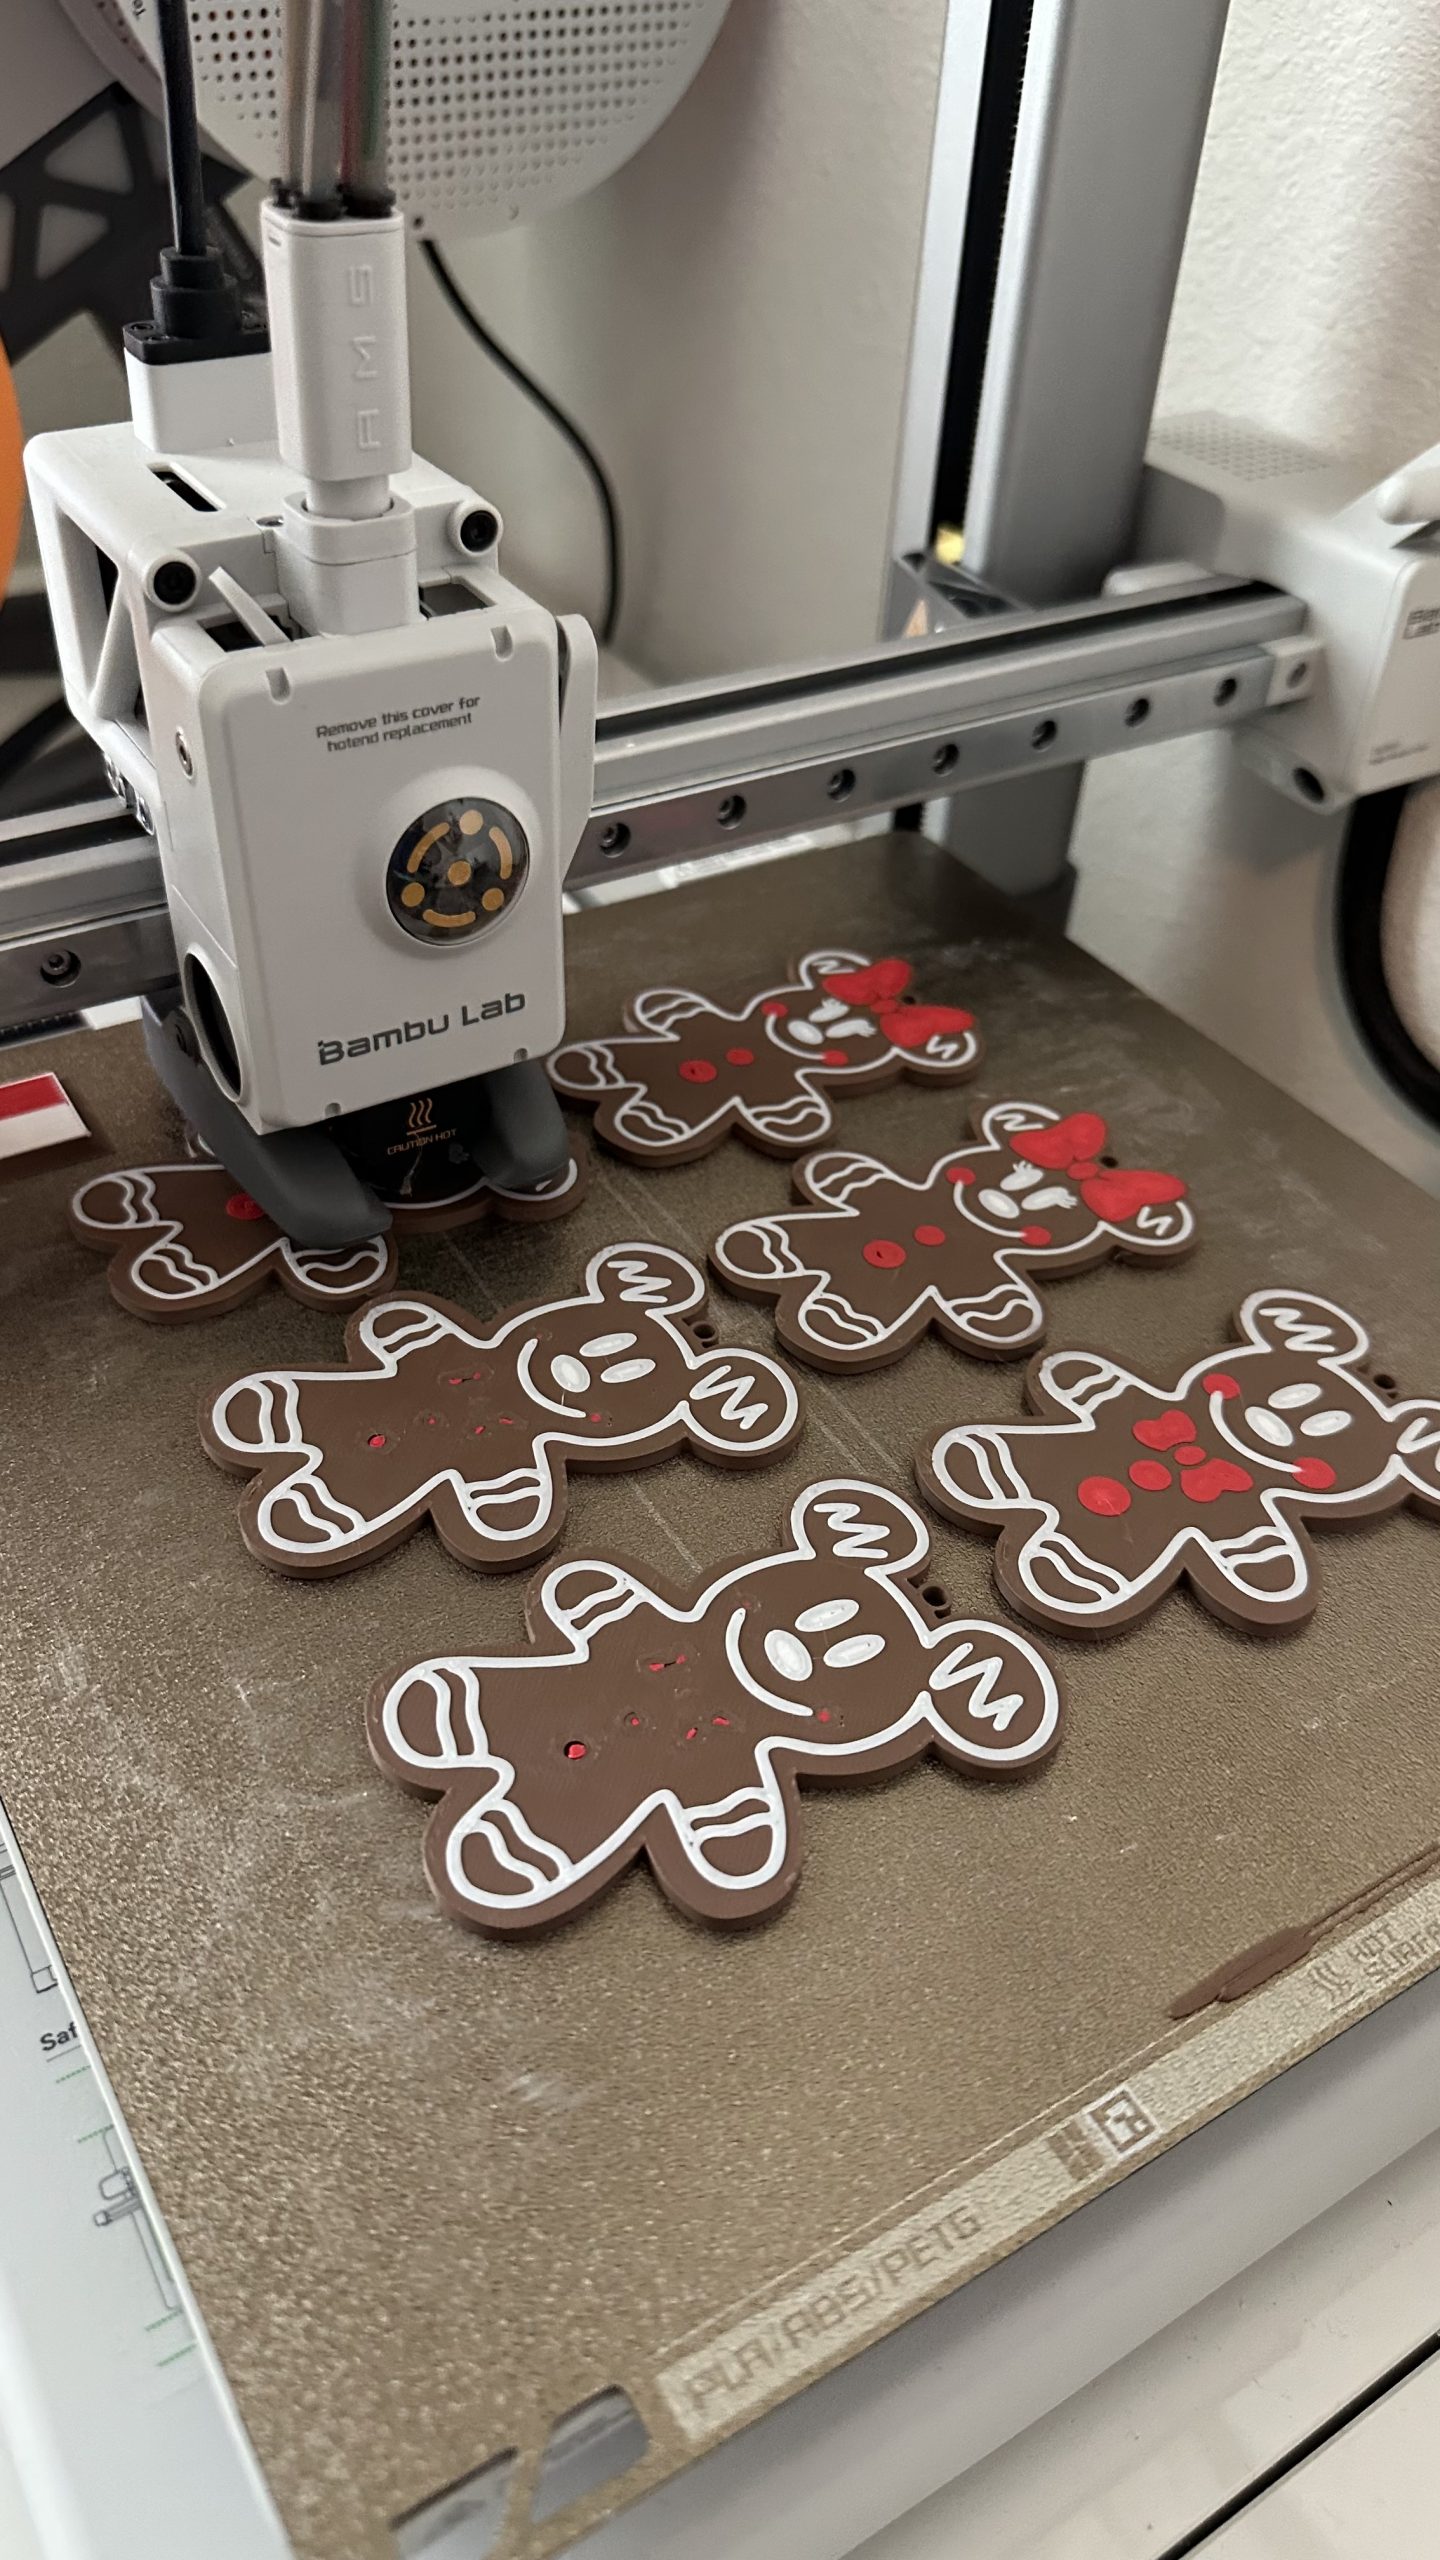
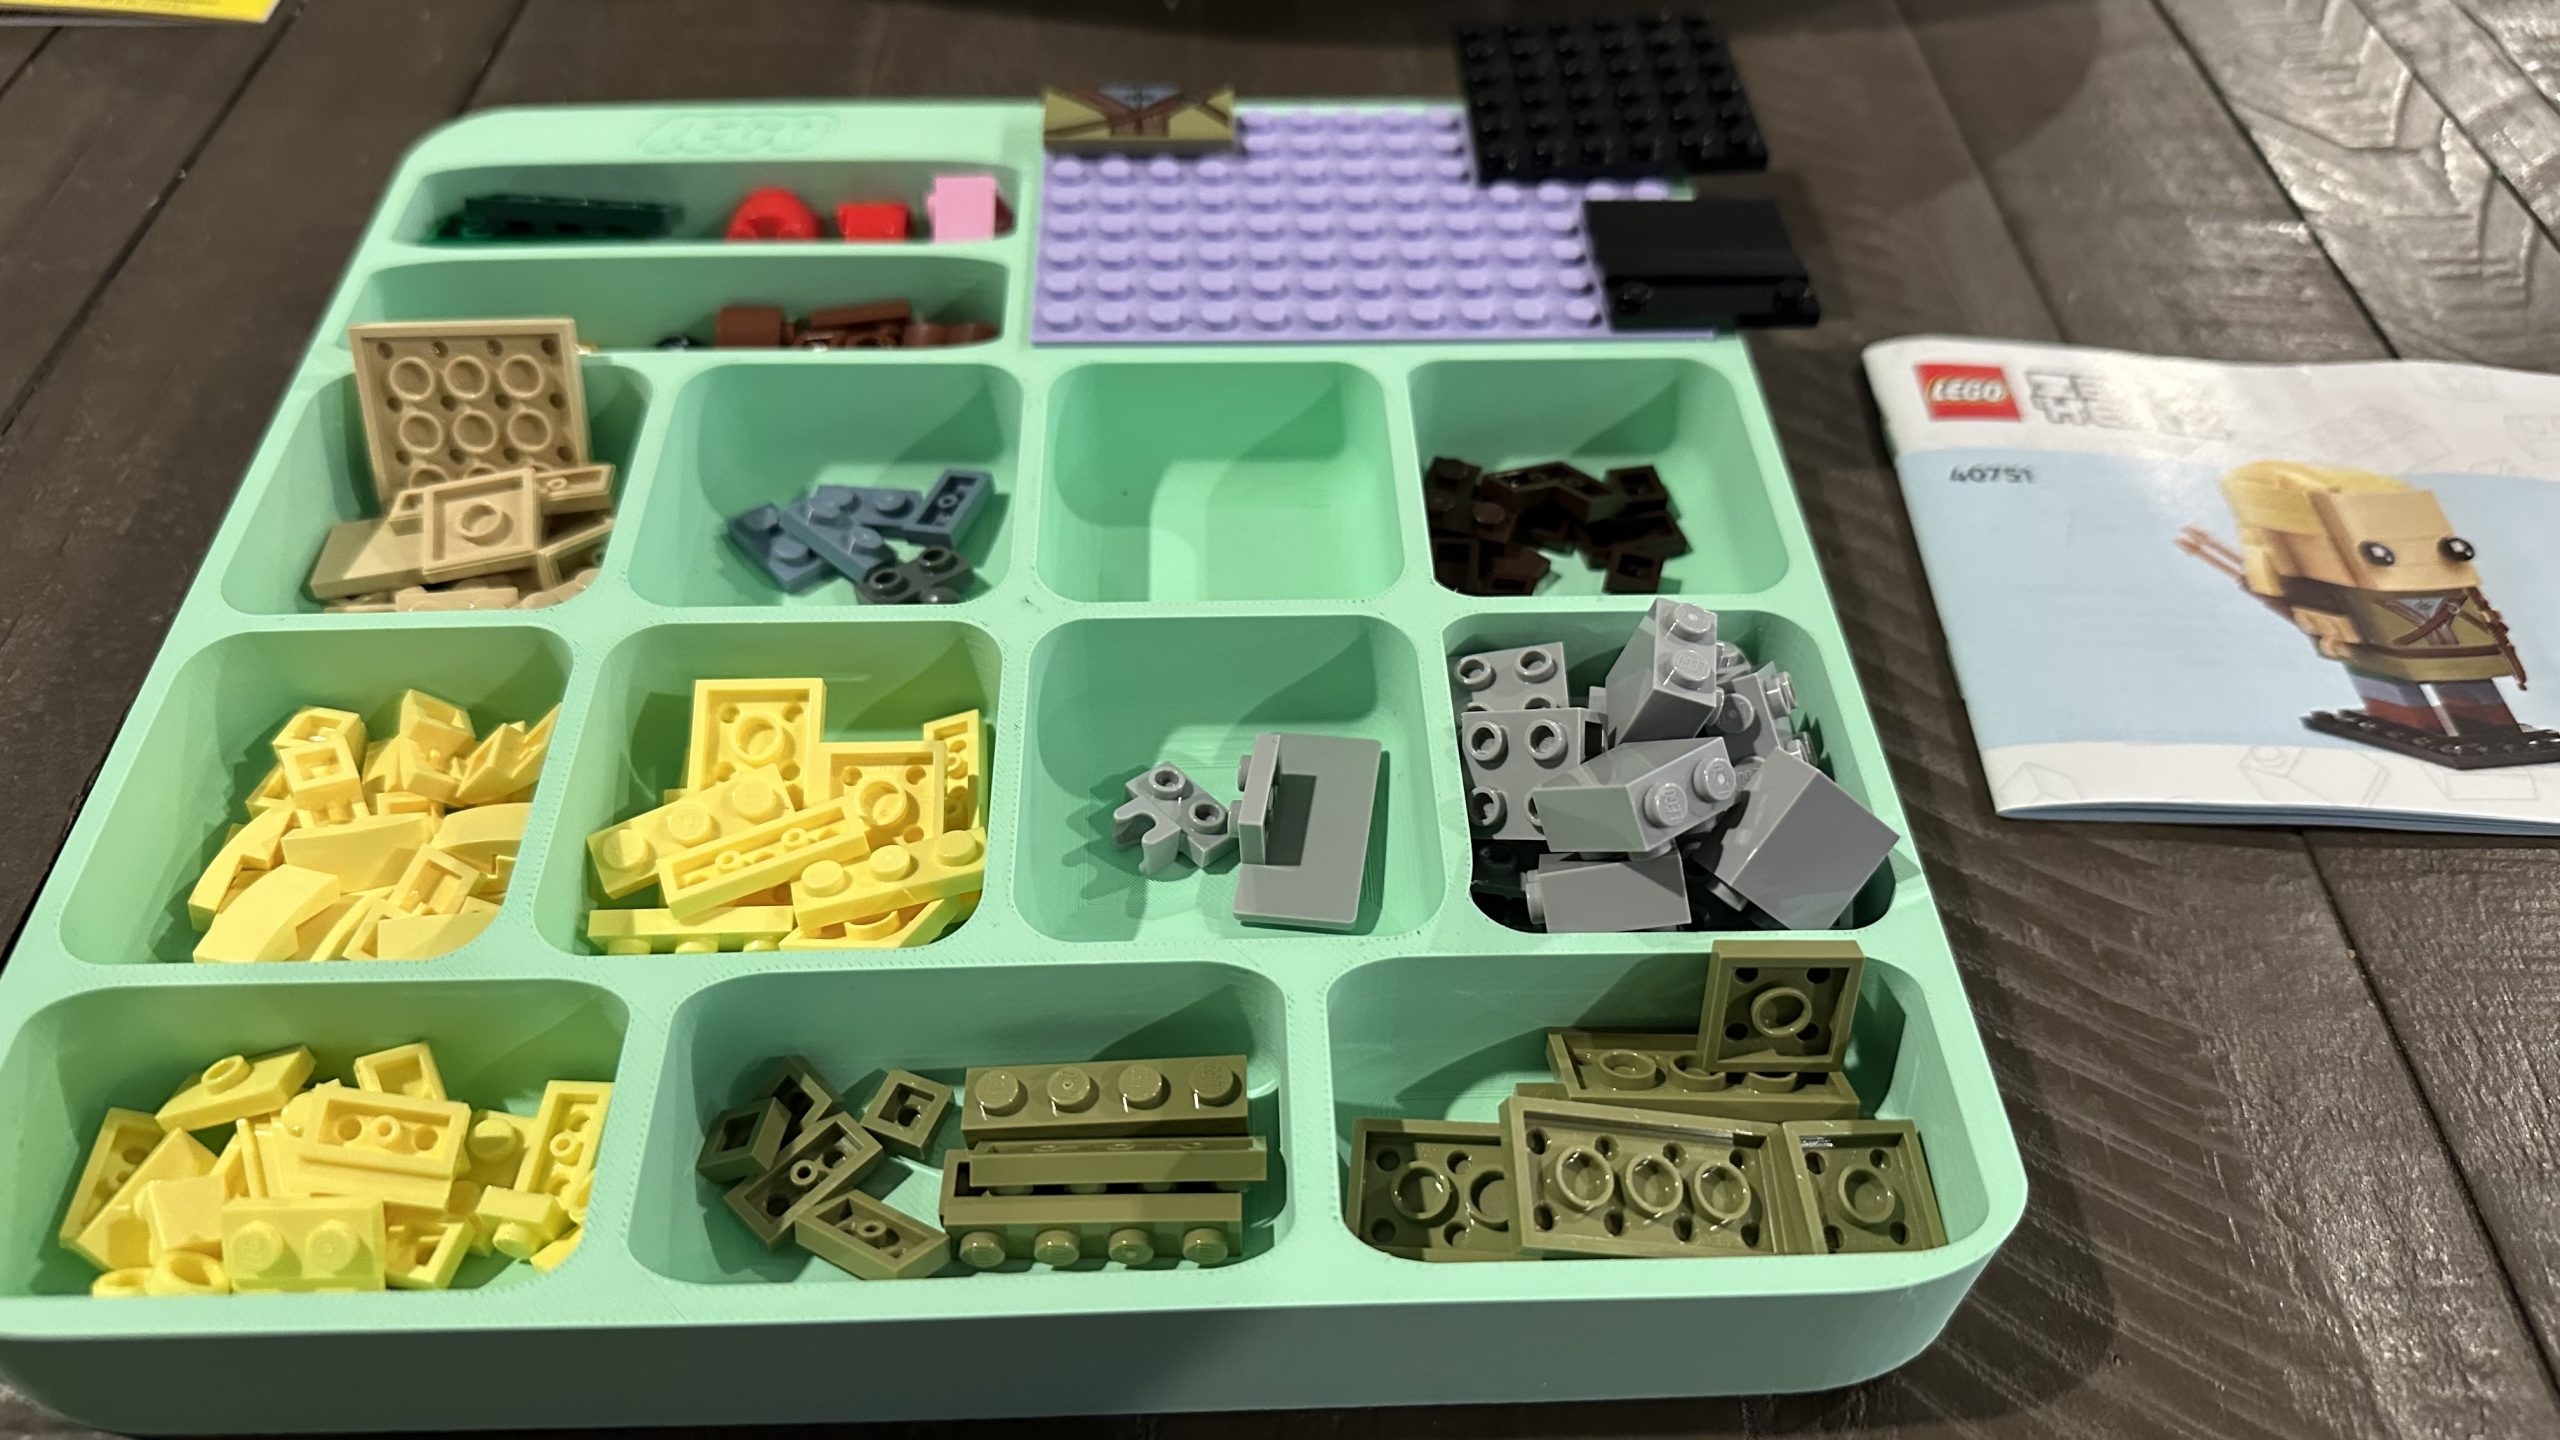
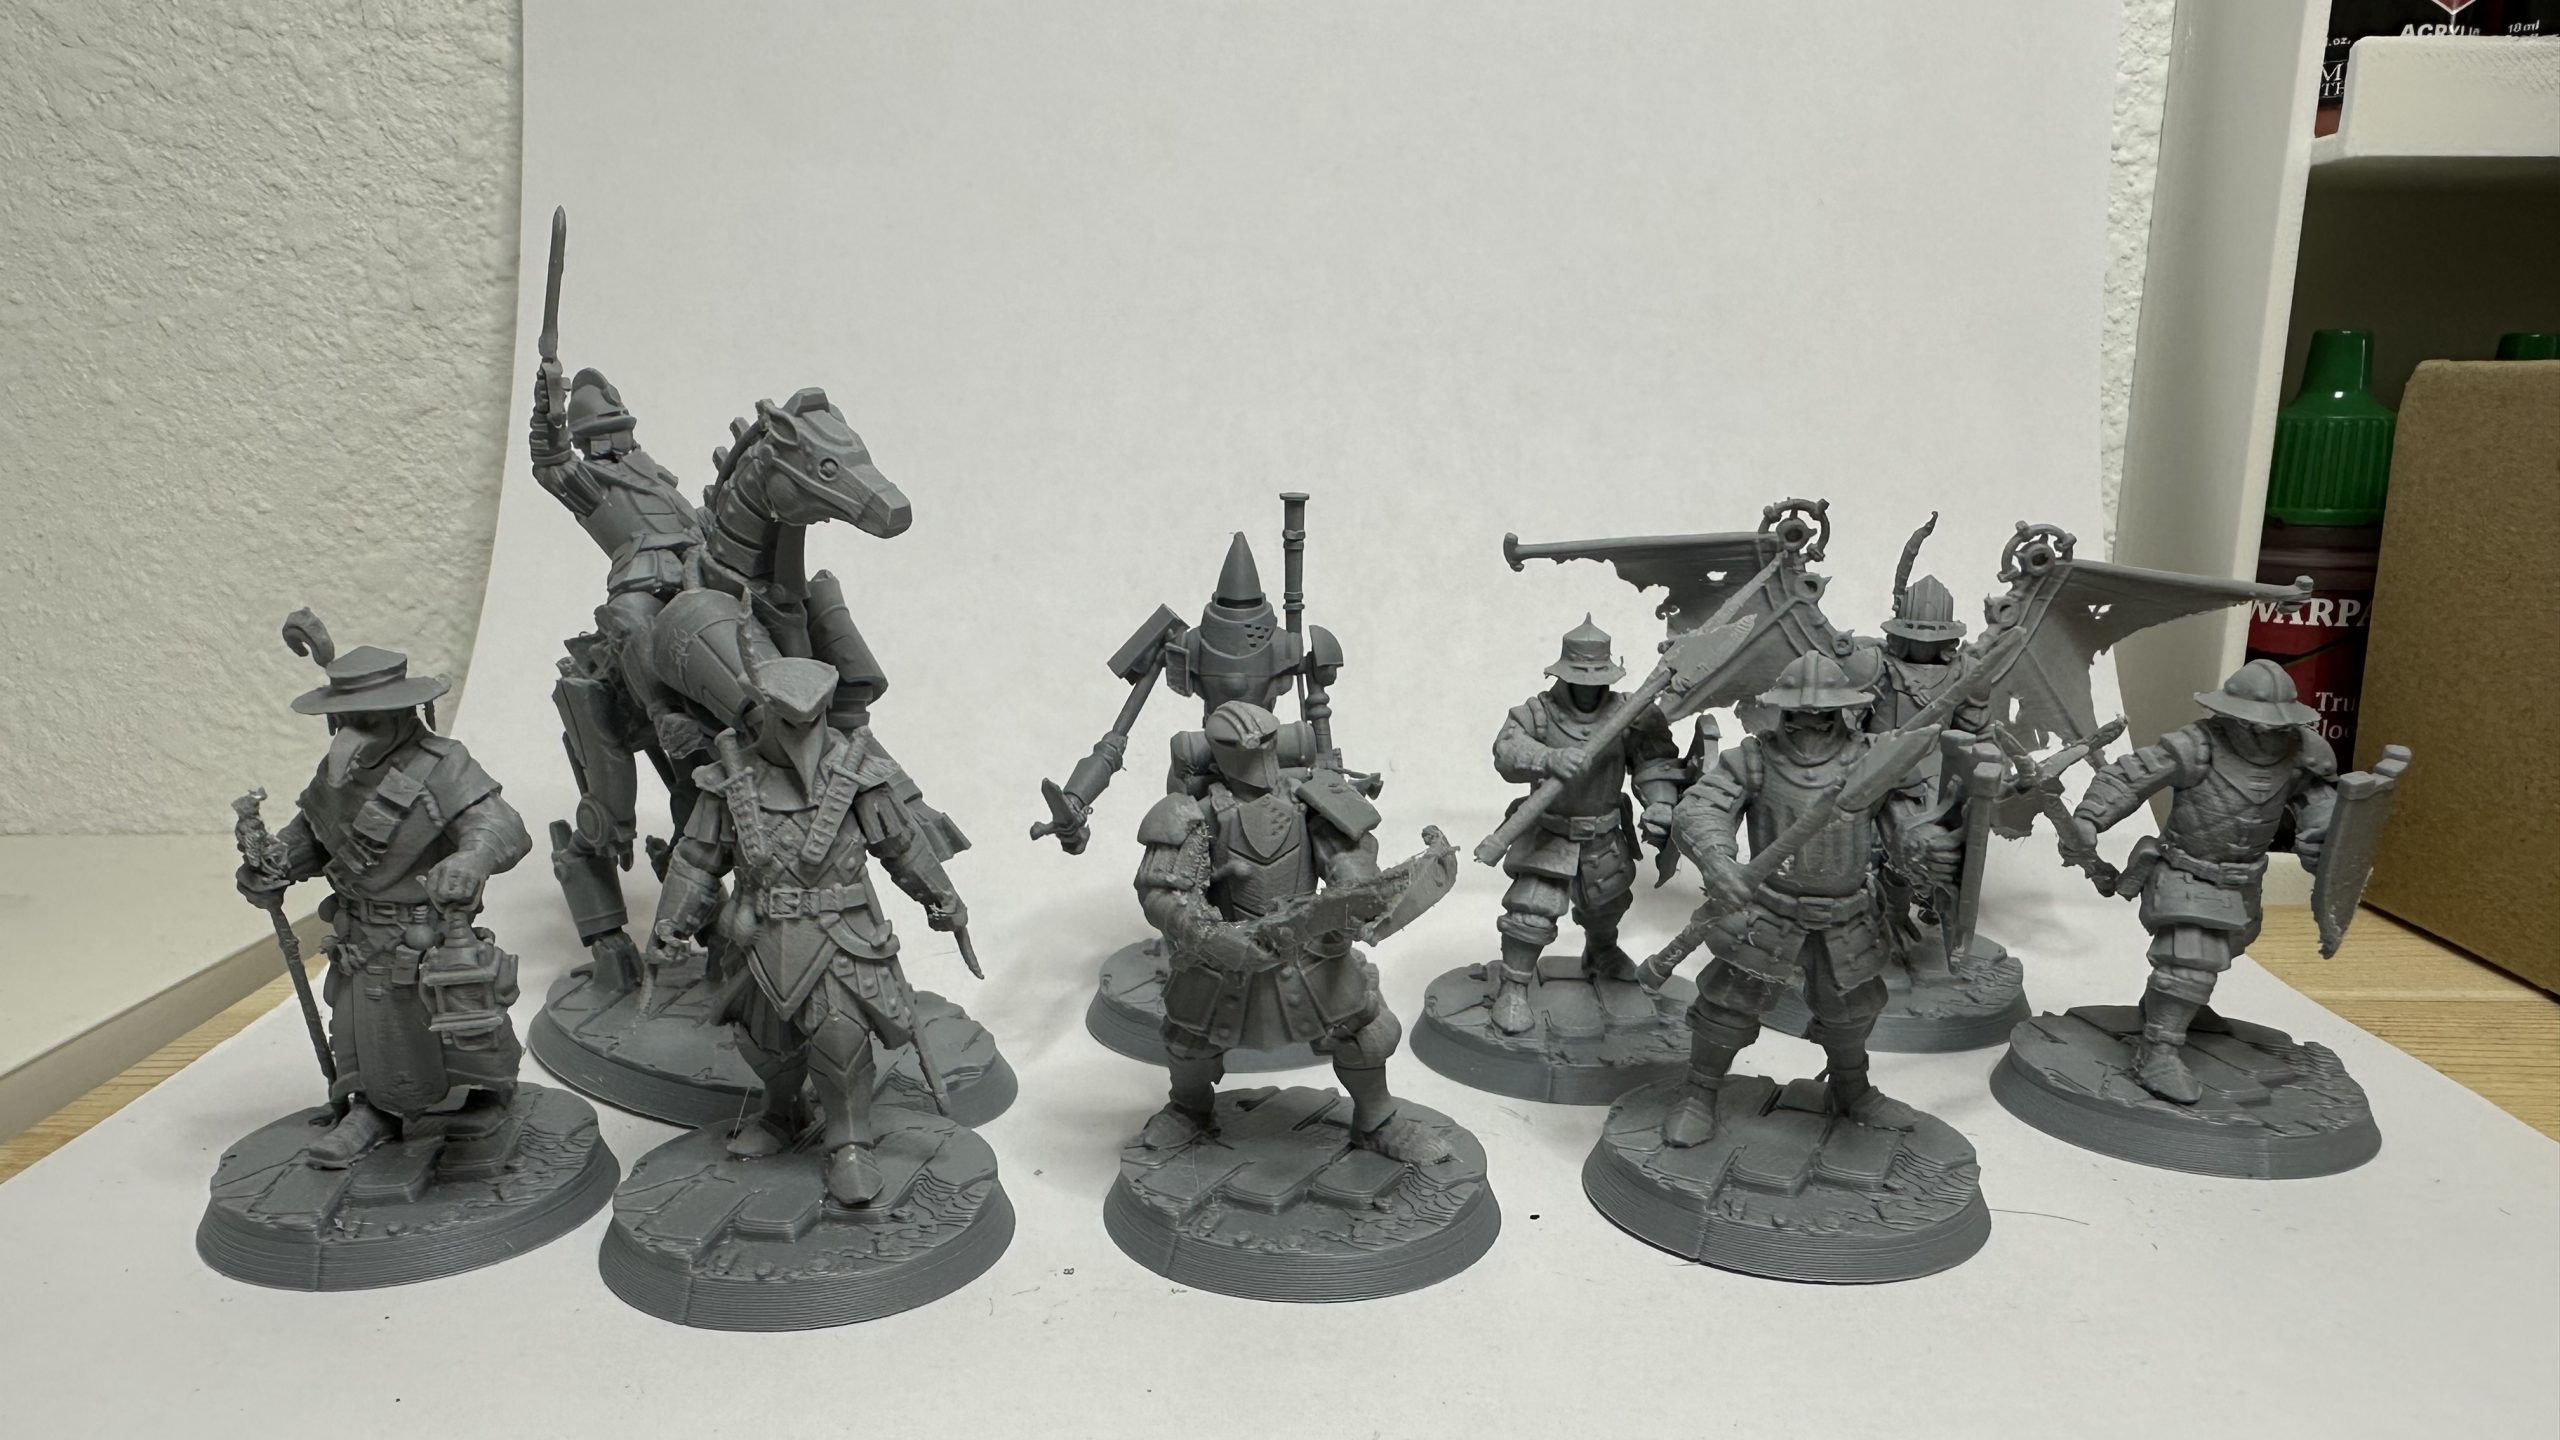
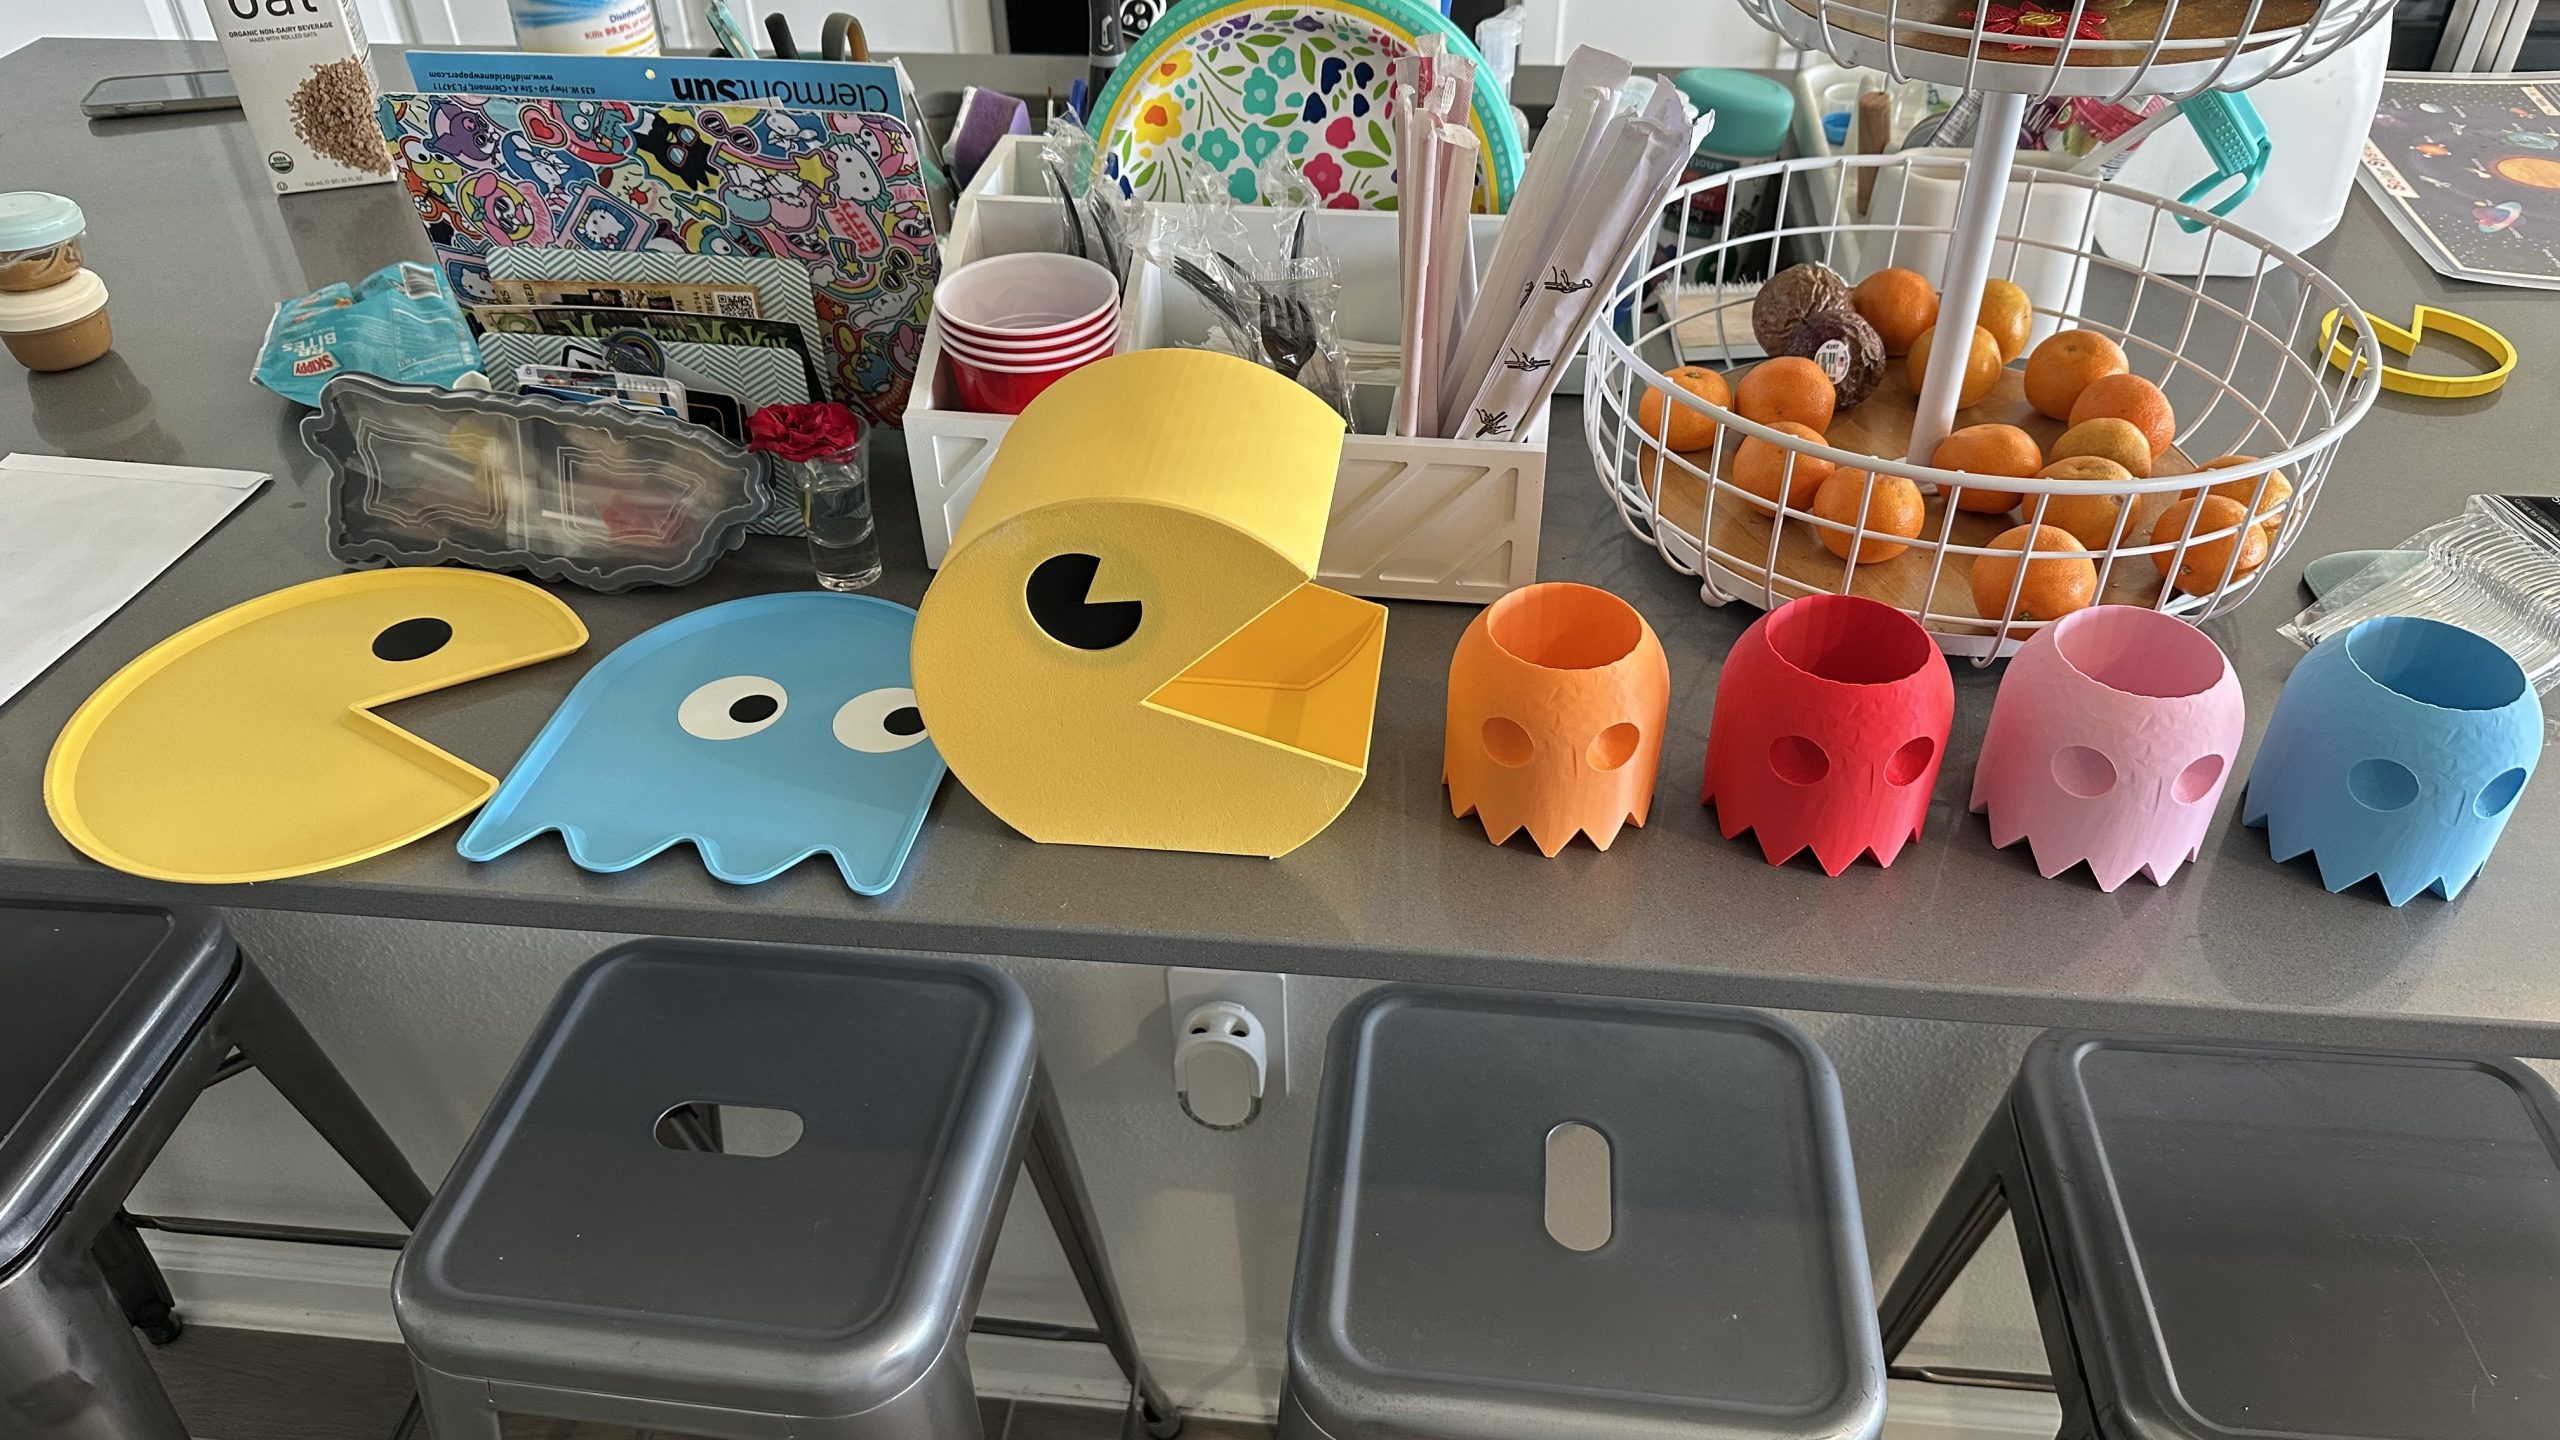
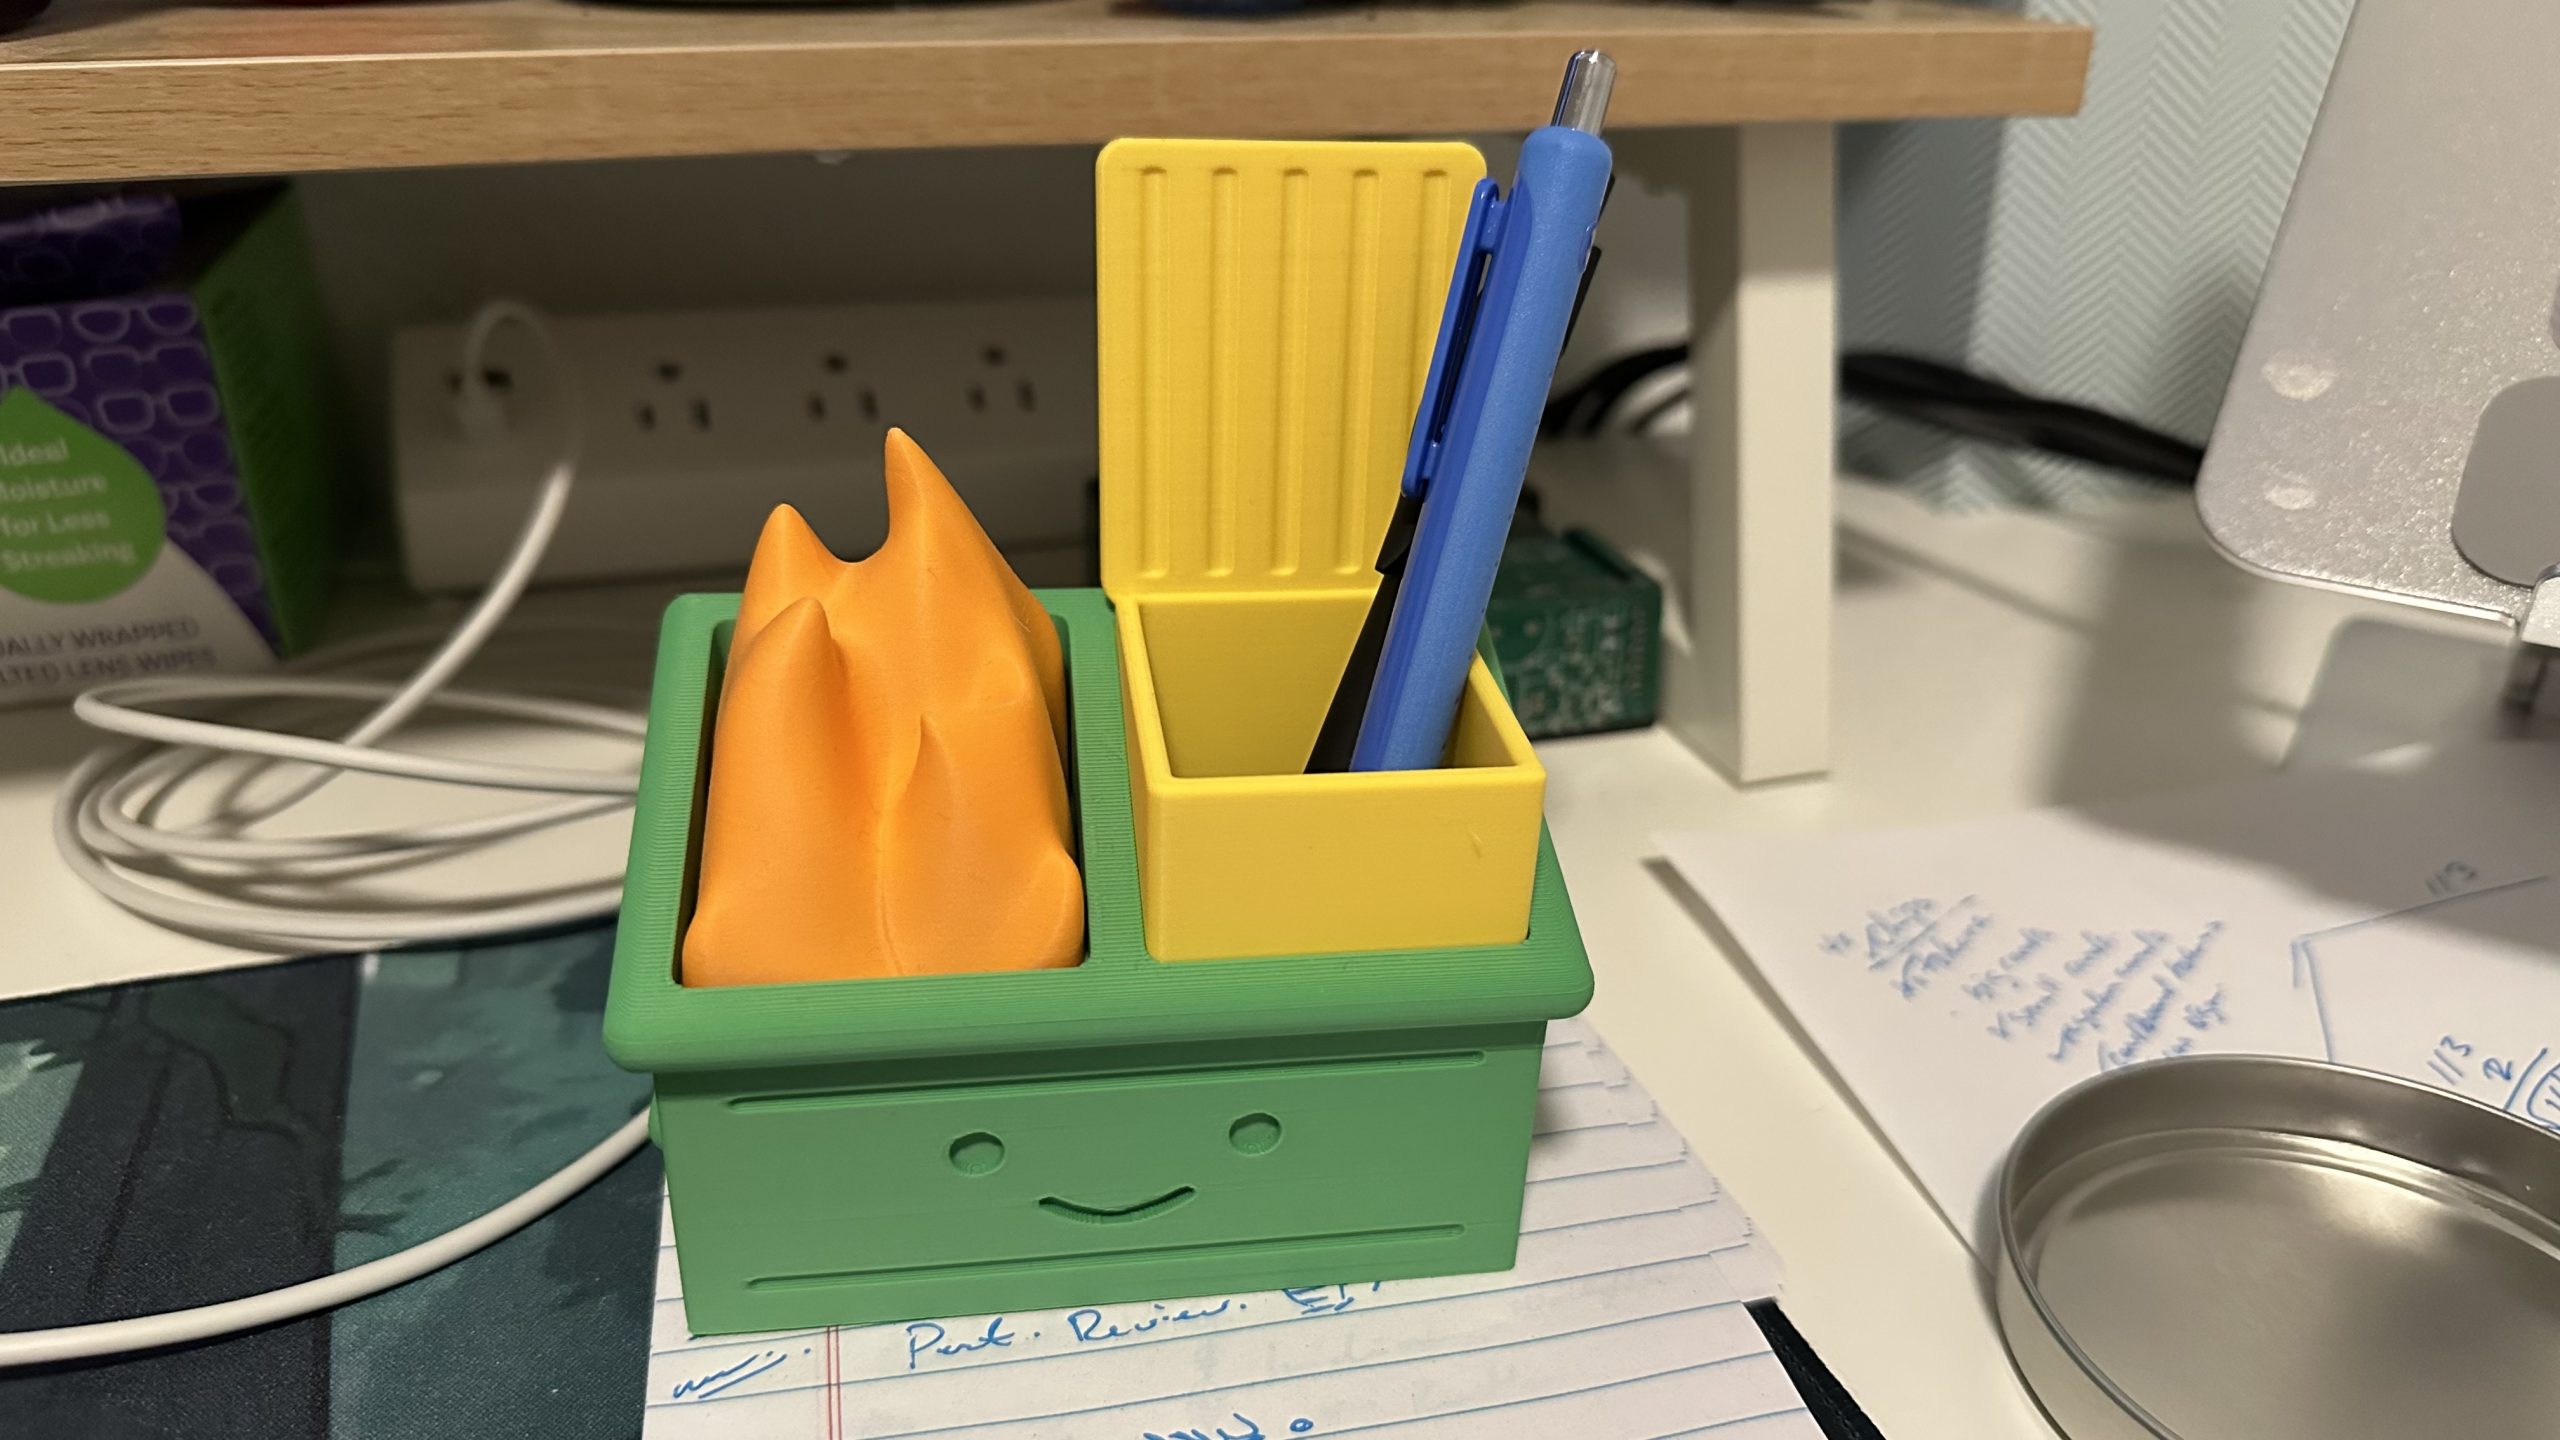
I decided to jump right in and got myself a Bambu Lab 3D printer, and let me tell you, IT IS easier than I originally thought! Not only has 3D printing expanded my list of hobbies, to include now miniature painting, I’ve been able to print several useful items for my kid, home and friends.
Not only I’ve been able to download and print design from other people on the internet (most of them for free… more on that later) but I’ve also designed and printed my own projects.
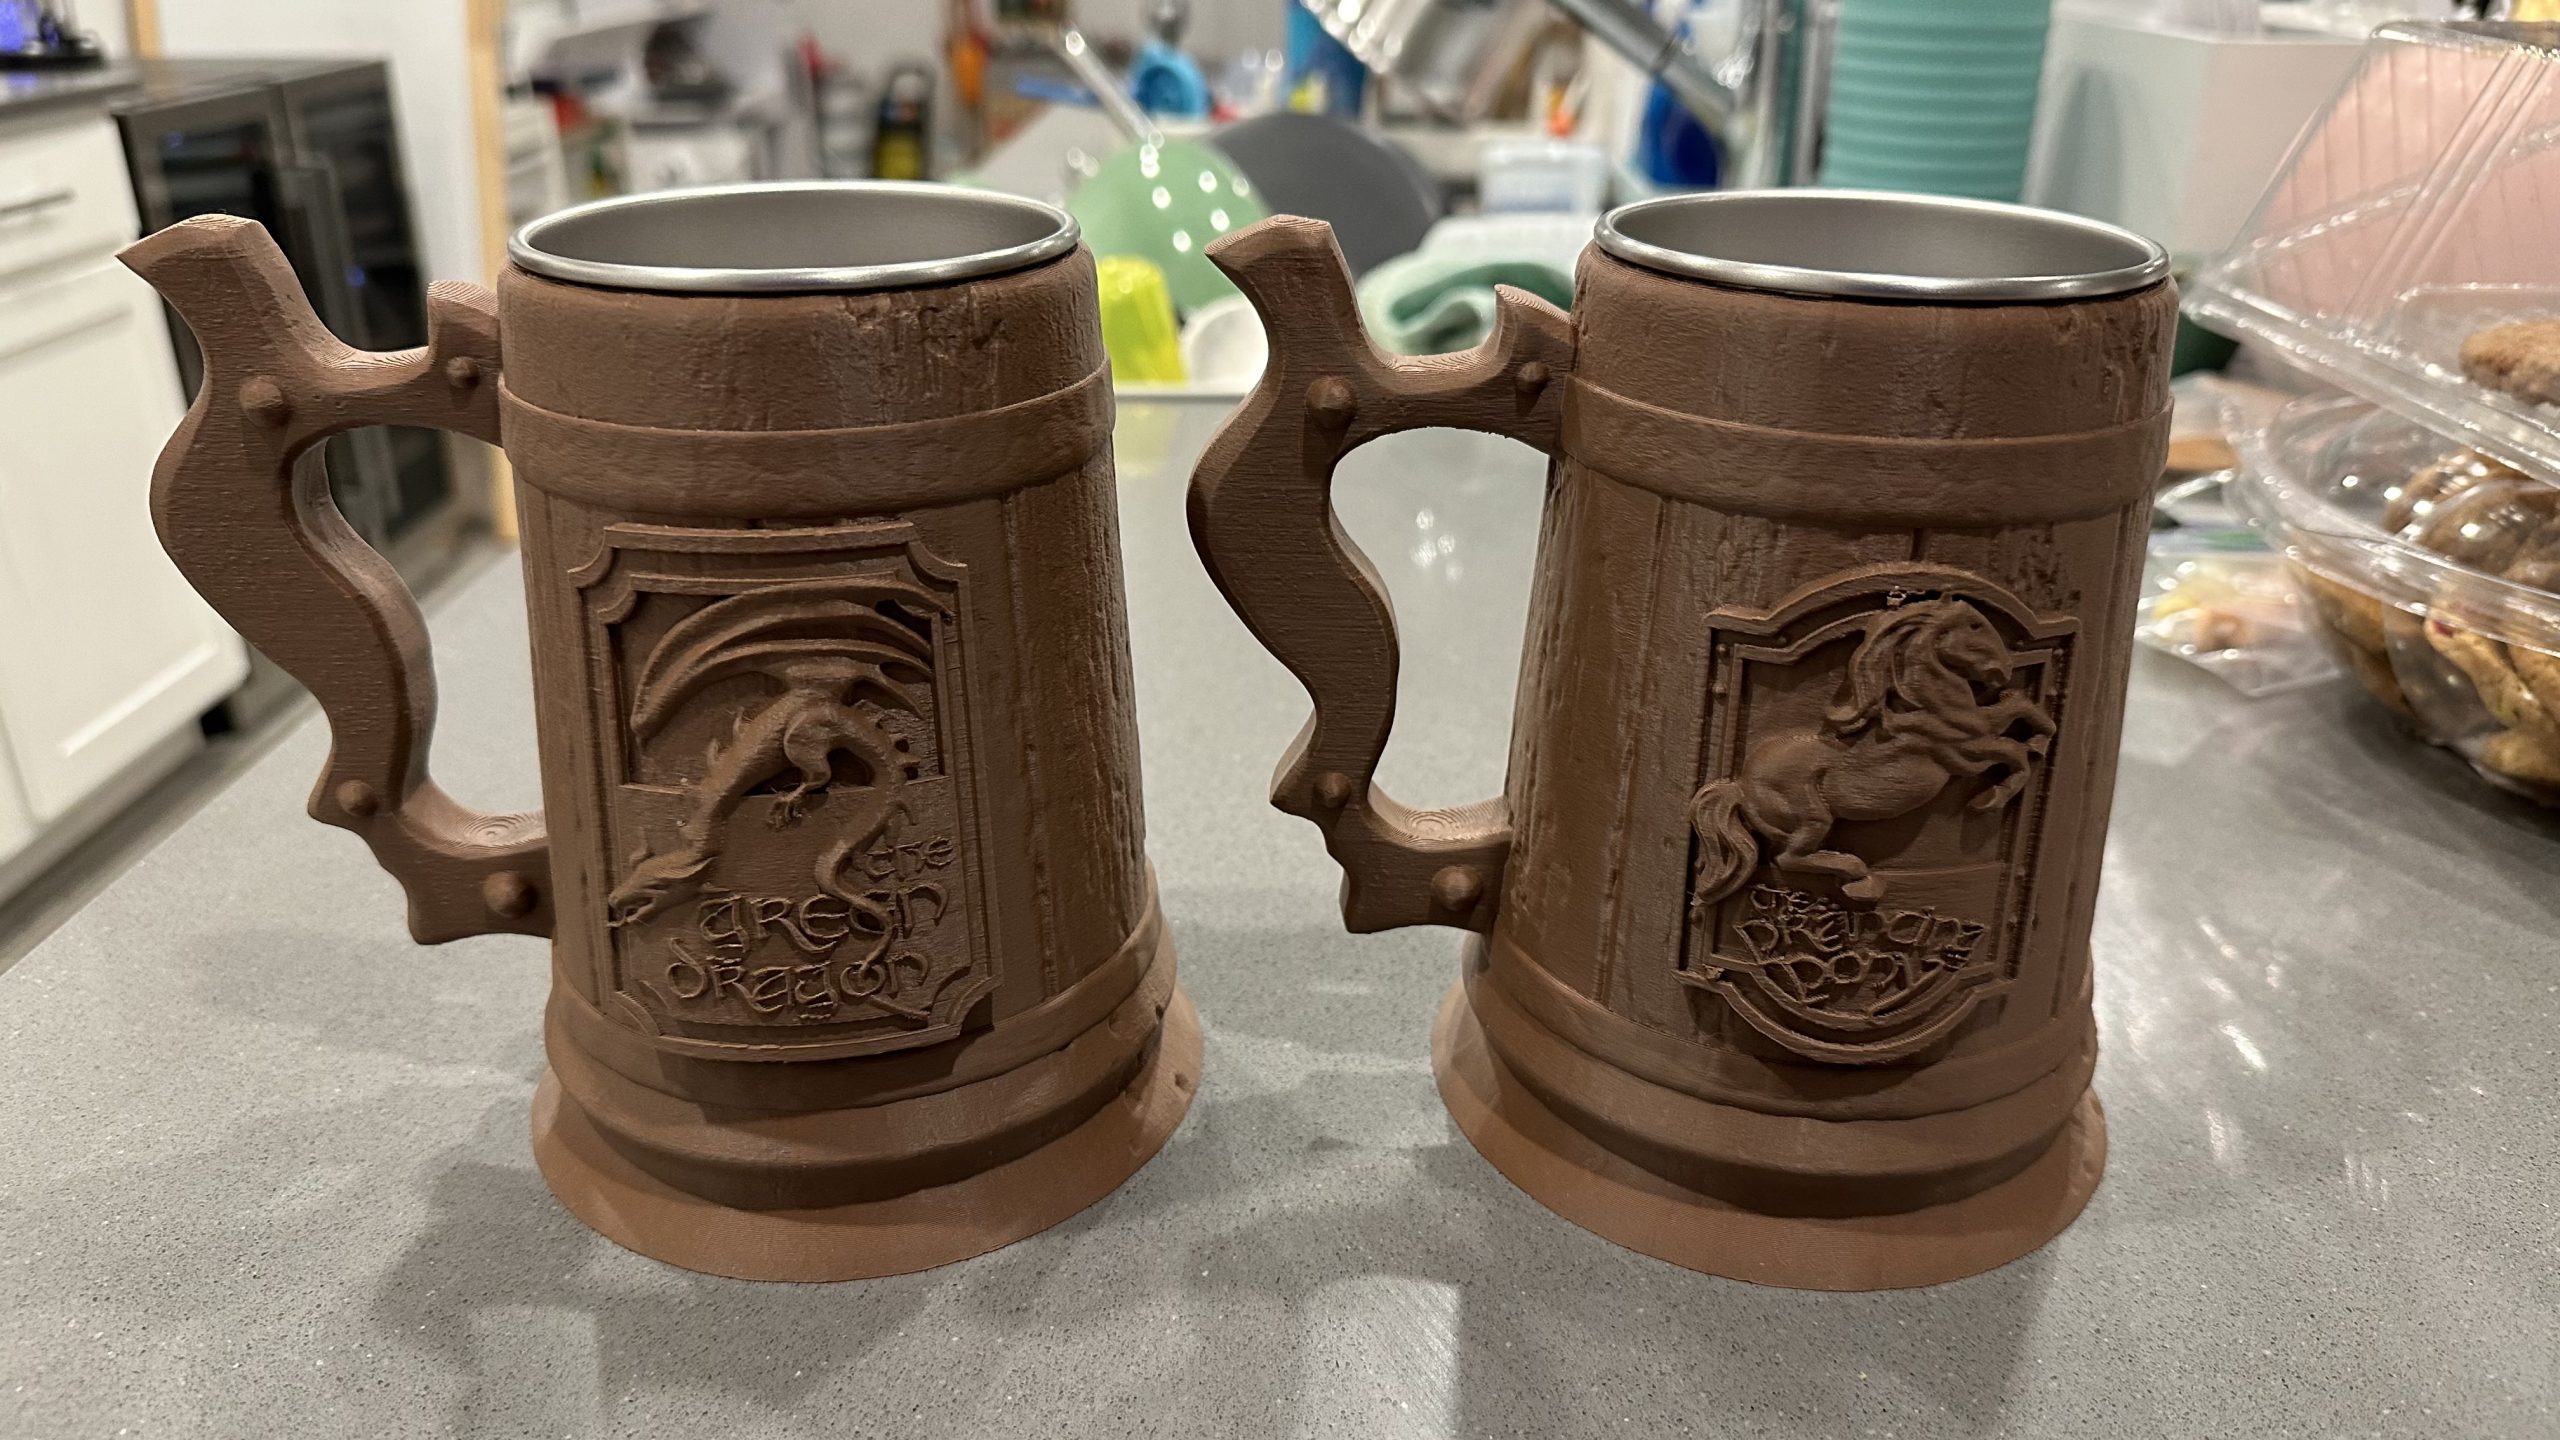
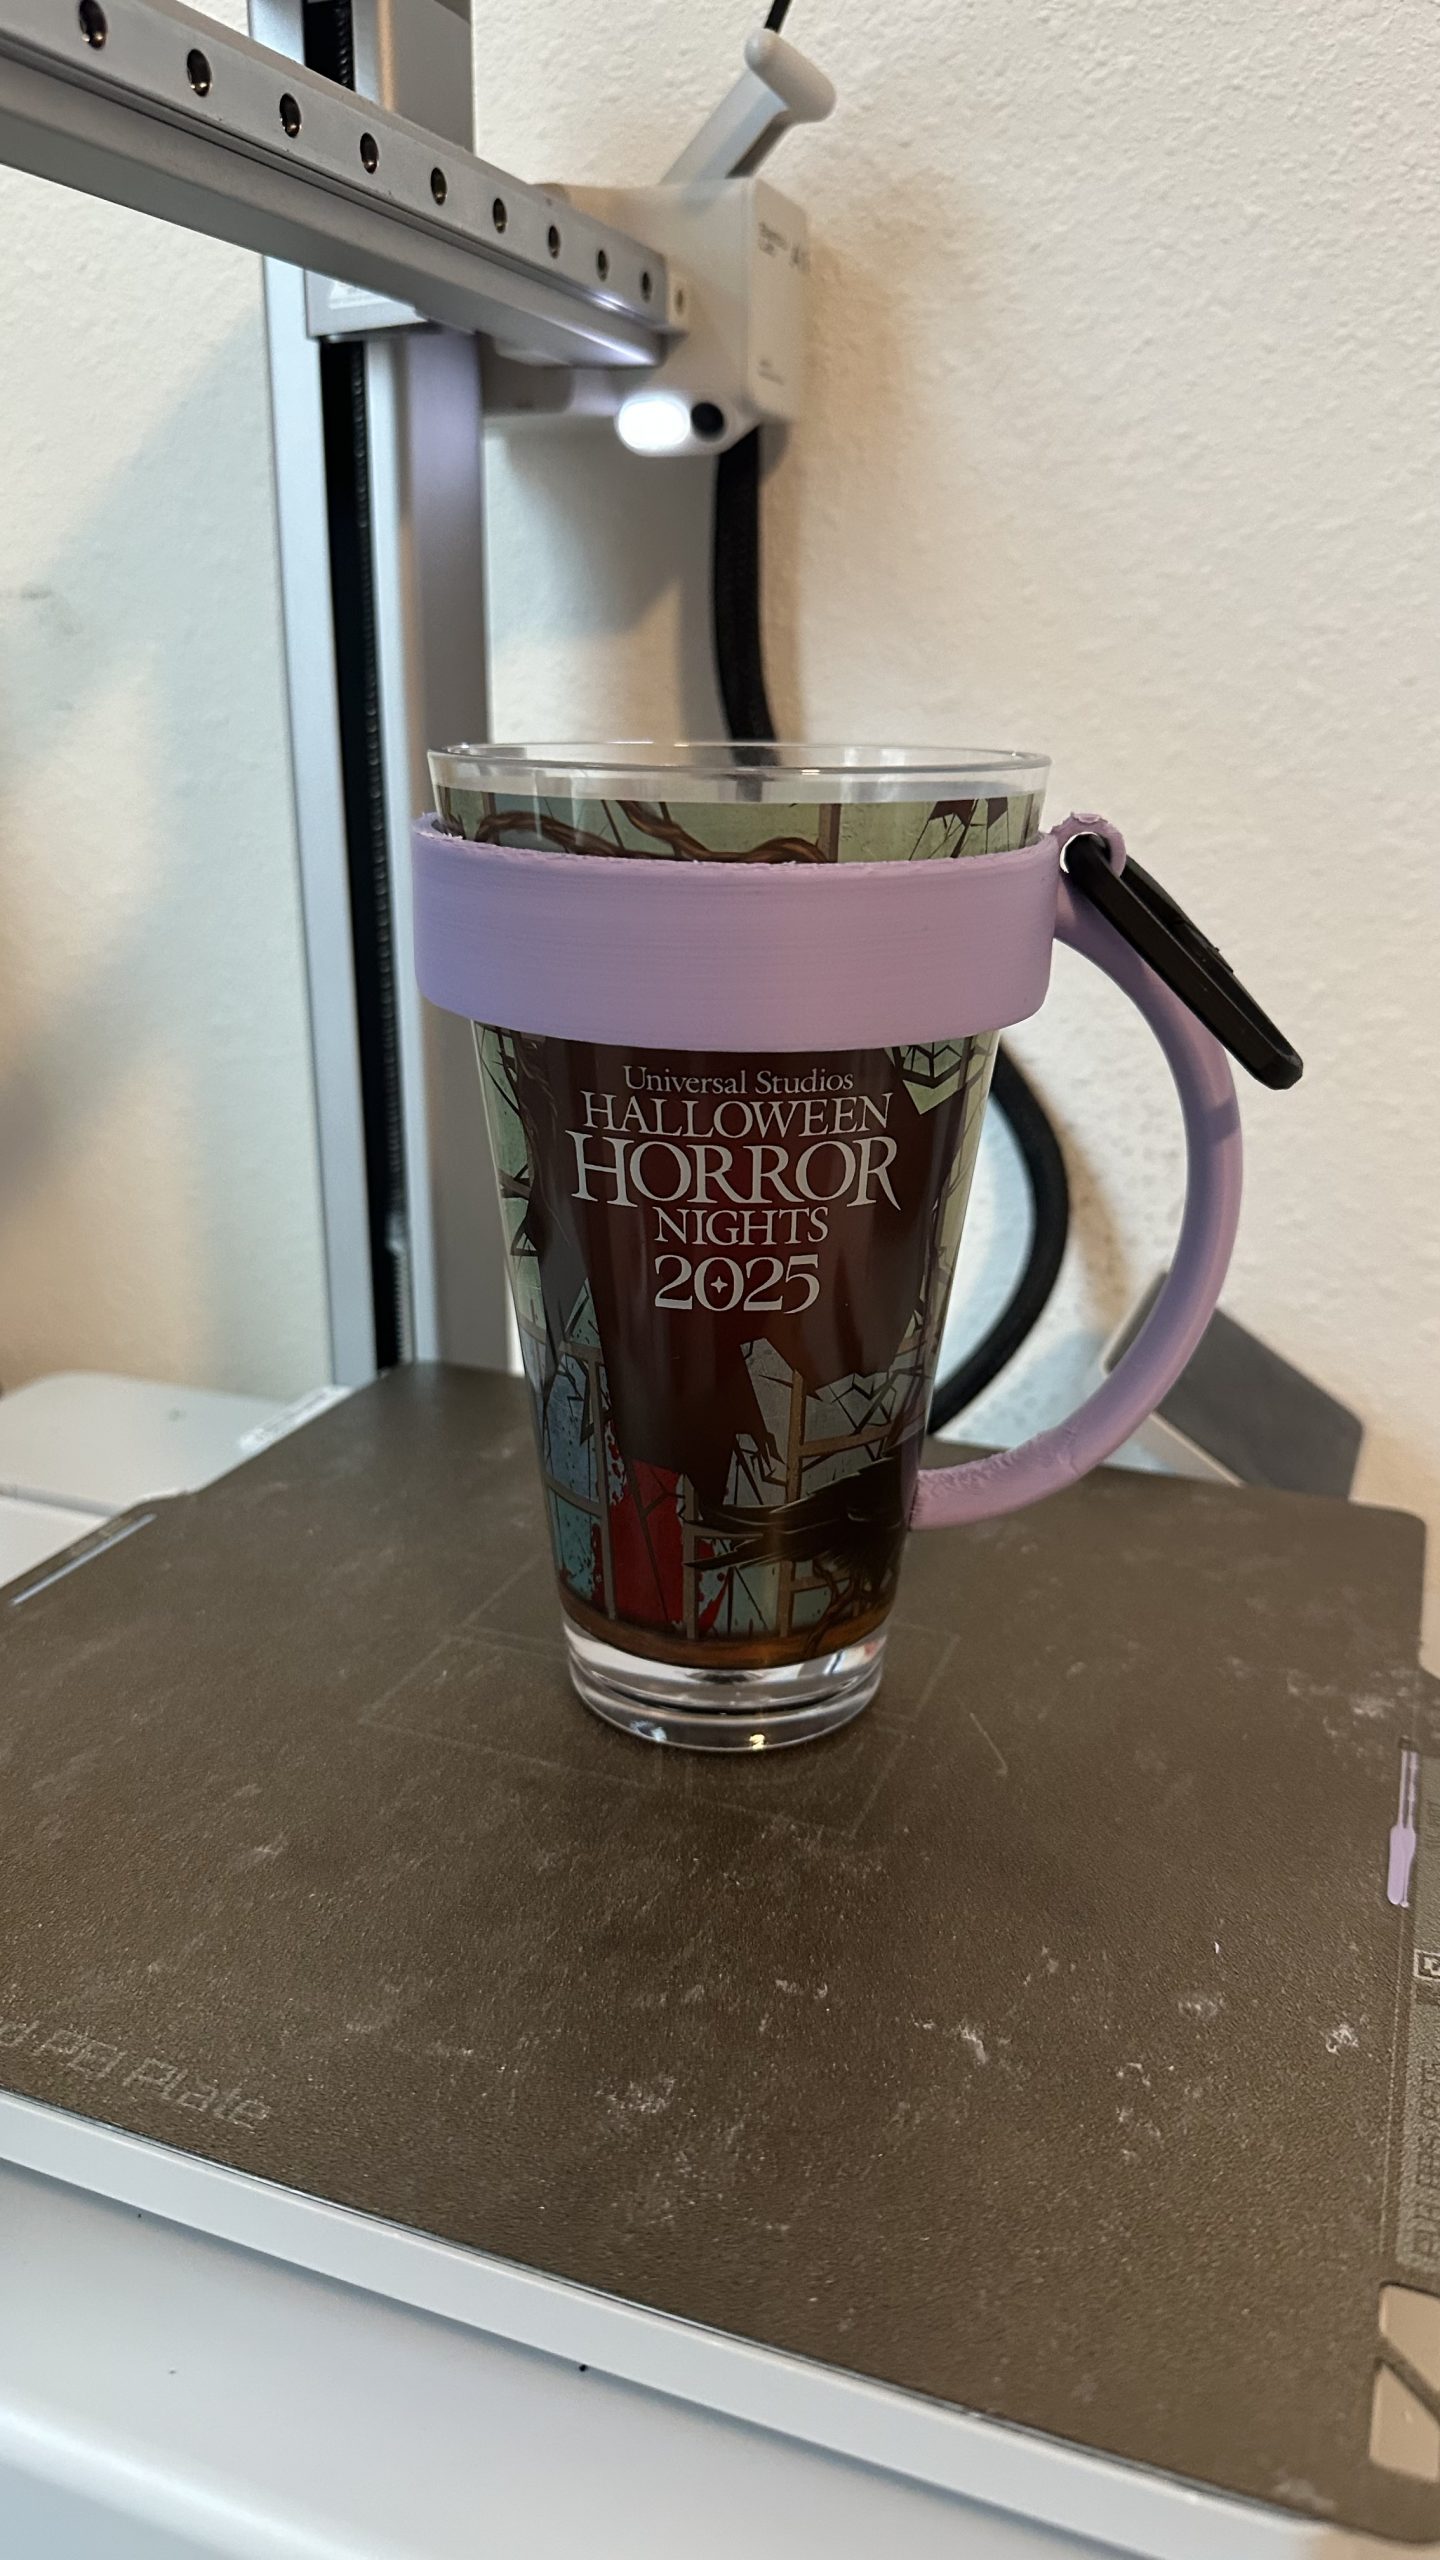
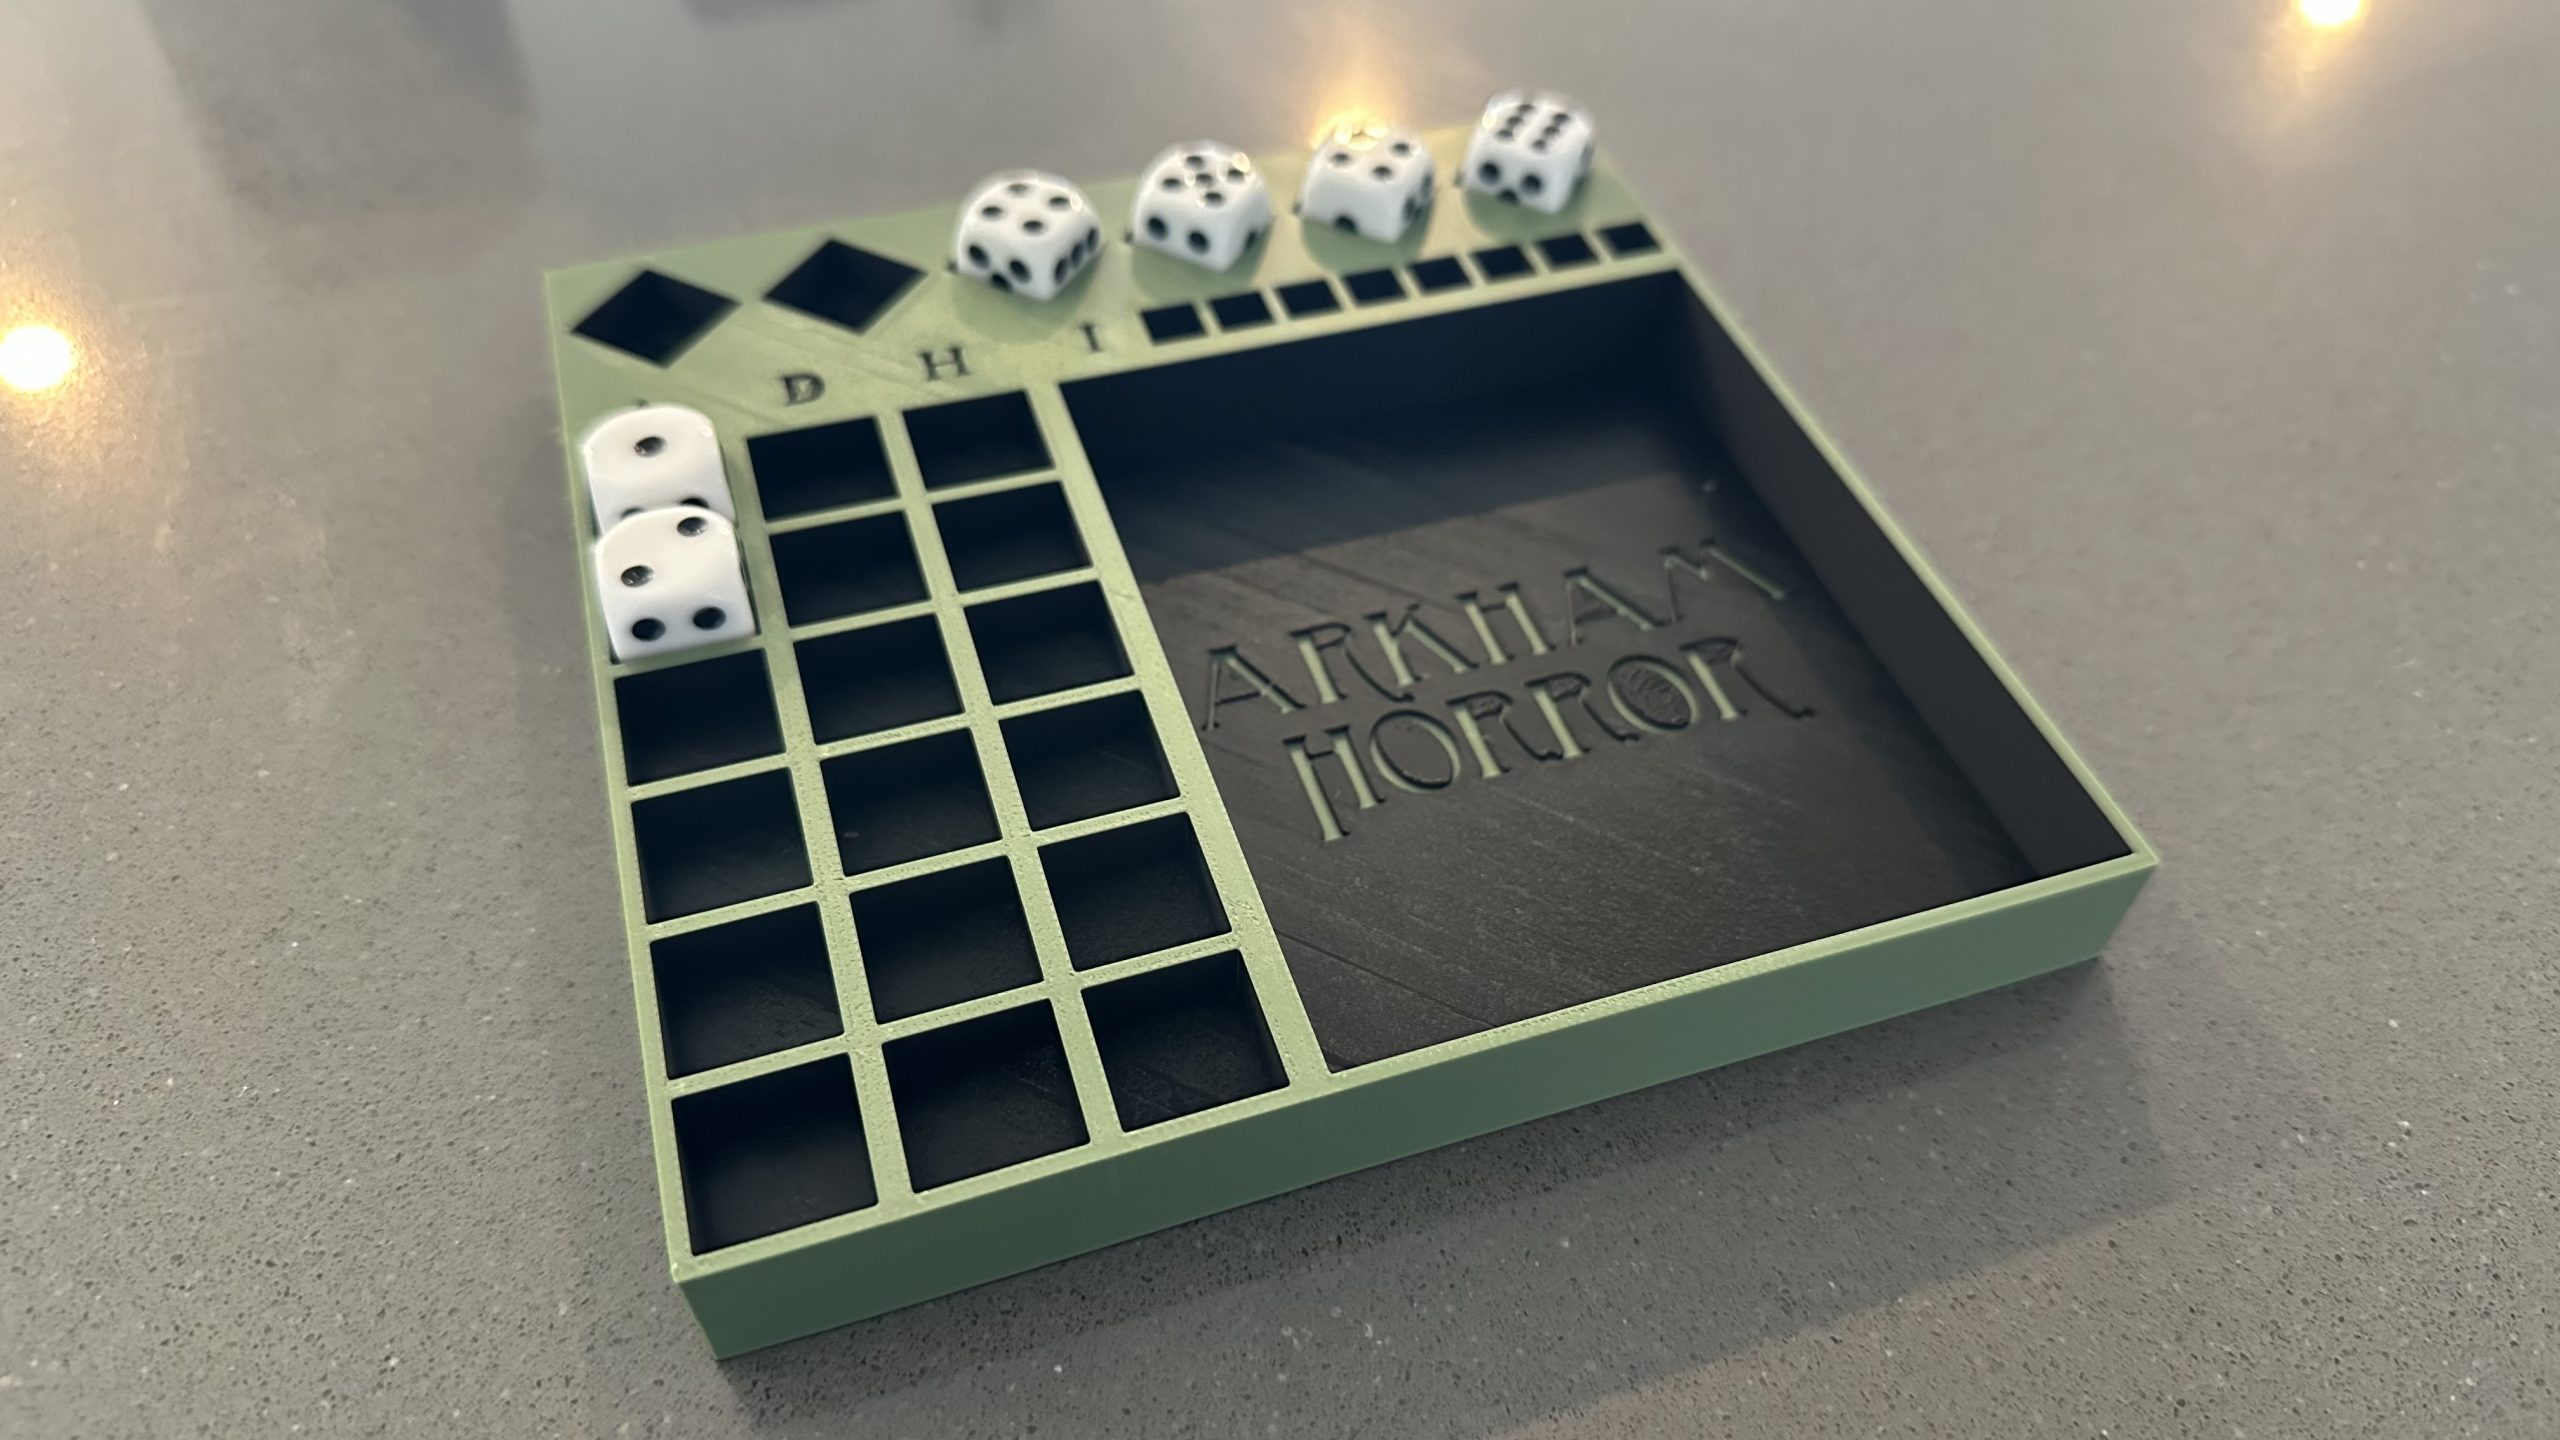
There’s great satisfaction to see something you designed digitally, become an actual physical object. It’s like you’re creating something out of nothing!
And since it’s National Learning and Development Month, I want to share how easy it is to get started in the 3D printing hobby.
The 3D Printer.
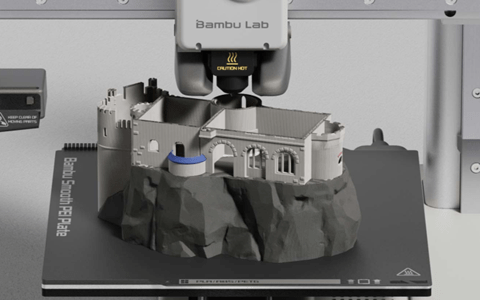
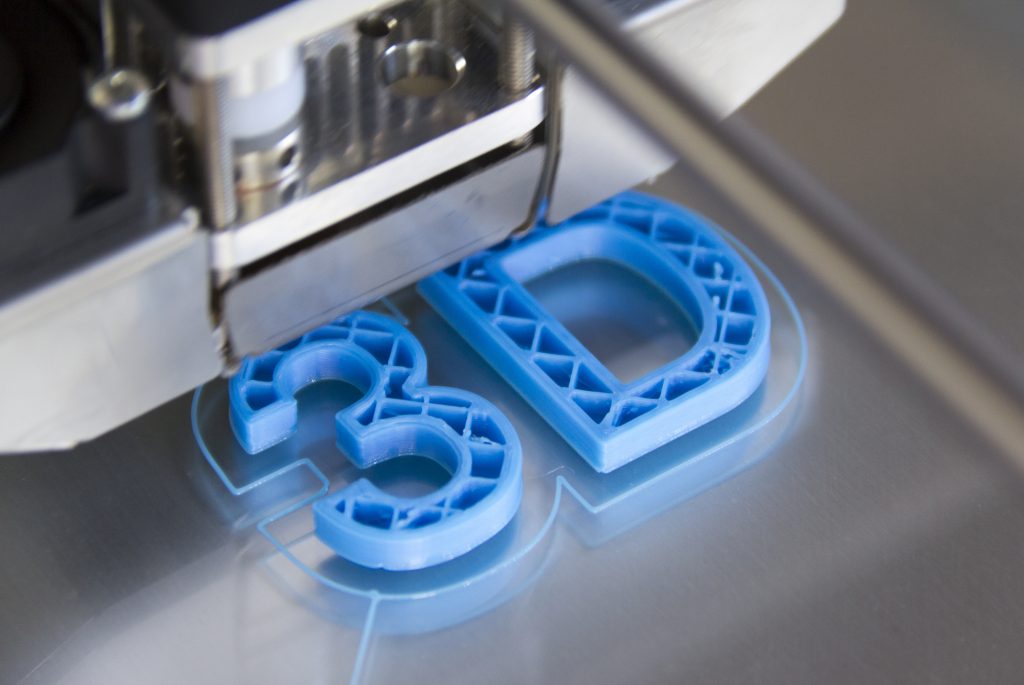
Of course, the most important equipment you will need is the printer itself. I should start with the basics, what’s a 3D printer, and how it works. Think of the printer like a huge glue gun, in the sense that you insert a spool of plastic filament and it heats up the nozzle of the printer so it can melt the plastic to then start “printing” with that melted plastic, layer by layer, to the desired shape. The printer comes with software that tells the printer how to print the object you put in the software.
Like any hobby, there’s different levels of complexity depending on how advanced you want to get into the hobby. That means that there’s multiple different printers and multiple types of filaments (based on the type of plastic). But I’ll show you the stuff that I use, and that’s easily available to get started on the hobby.
I have the Bambu Lab A1 printer, and to be transparent, it’s the only printer I’ve tested. But this printer is made for people like me that wanted to dive into 3D printing, and they make the experience super simple. They also have a smaller version of the A1 called A1 Mini, but the only difference is the size of the object you can print on them. By default, most of the printers can only print in 1 color, the color of the filament you load on it. But both the A1 and the A1 Mini have the option (at an additional cost) to add up to 4 filament spools, meaning 4 different colors. As I mentioned, this is optional, since multi-color printing takes longer to print and uses more filament. I only use the multi-color add-on on special objects.
Filament.
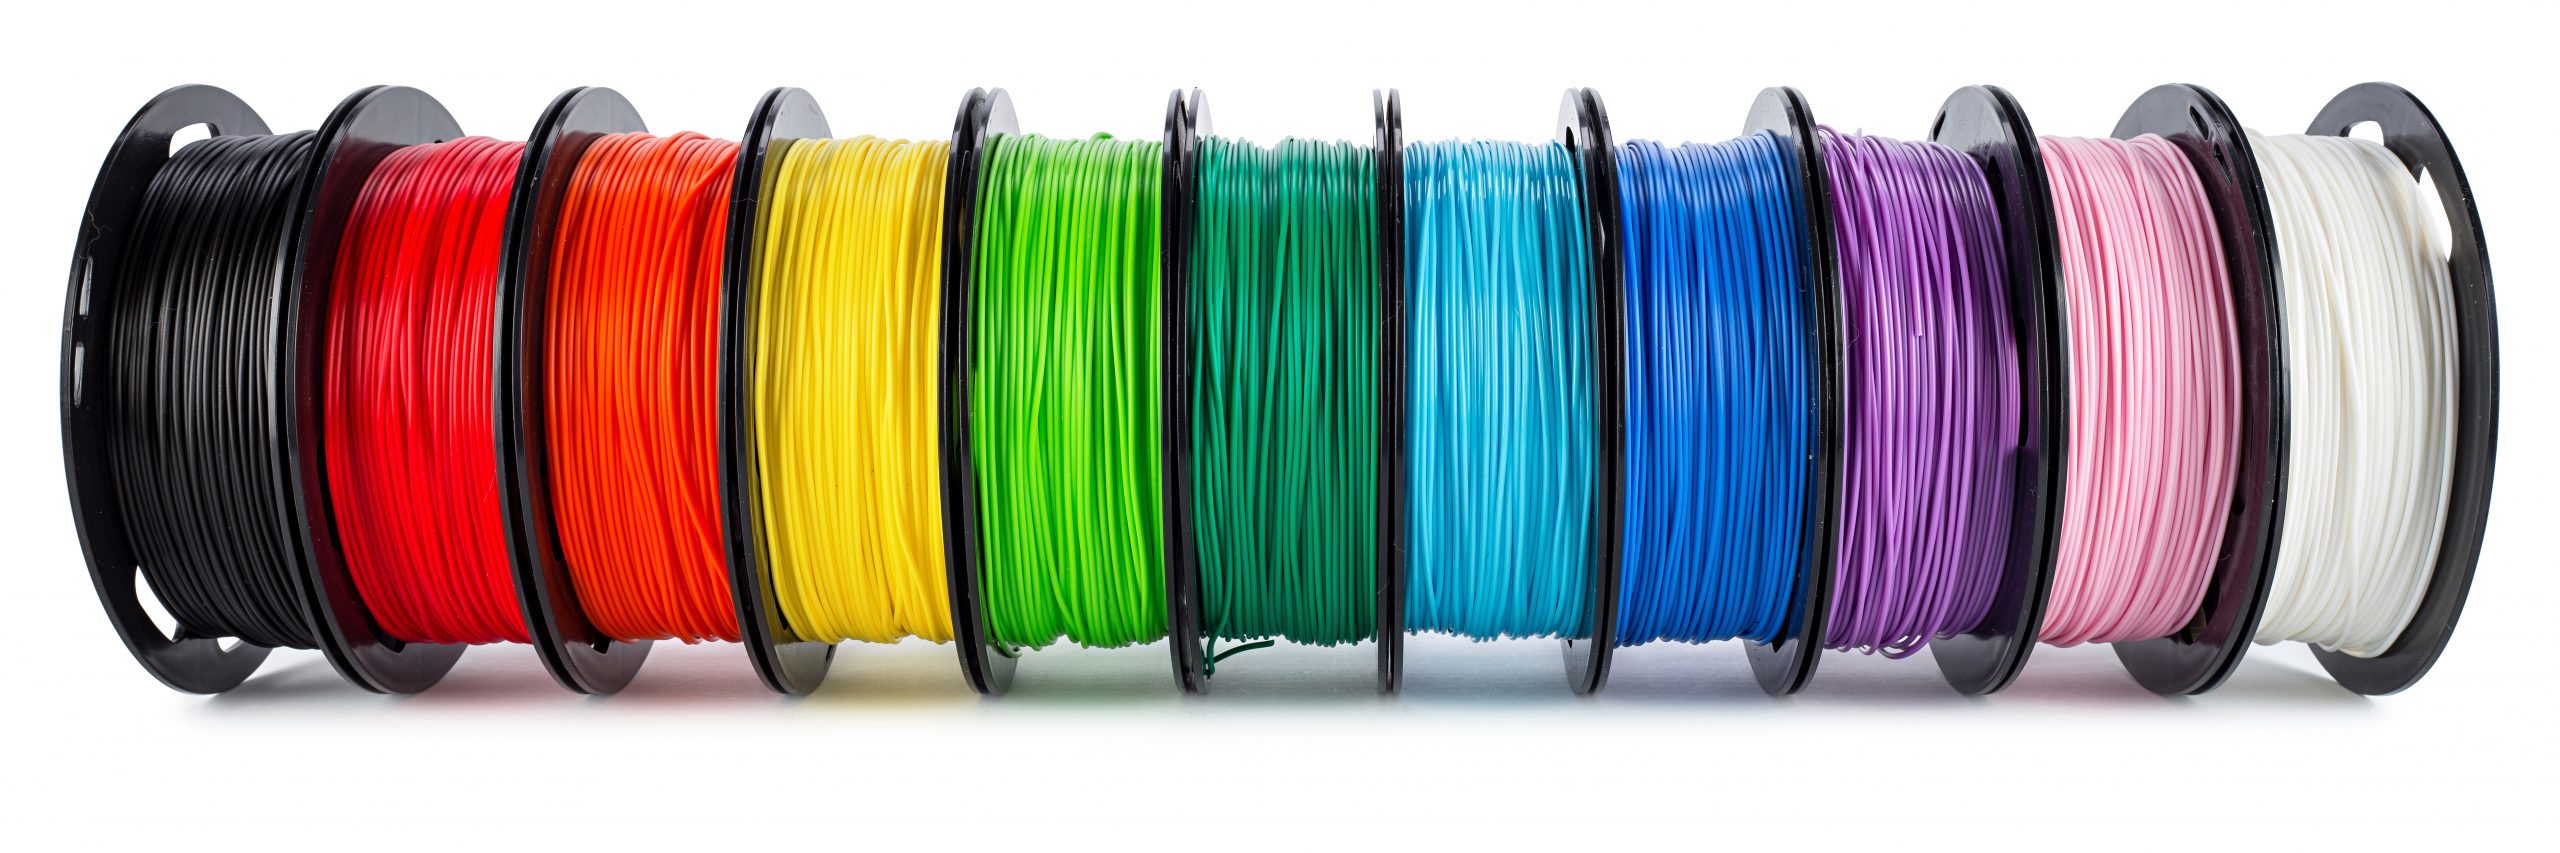
Filament comes in multiple types of plastic and colors. But for everyday use in your home, I recommend the basic PLA. This filament is budget friendly and easy to handle, as PLA is not toxic. The only downsize to PLA is that it is not heat resistant, so it’s not recommended for outdoors since the heat will melt the plastic.
There are of course multiple brands, but the ones that I use are Bambu Labs own and Polymaker. Bambu Lab can be purchased directly on their online shop and Polymaker you can find it on Amazon.
Spools of filament usually come in the standard size of 1kg. That’s 1,000 grams of plastic filament, and it usually gives you a lot of prints (depending on the size of the object.)
So as long as you pick a 1kg spool of PLA filament of your desired color, you should be good to start!
Software.

The 3D printer comes with software called Bambu Studio. This is where you will load the object that you want to print, and the software will send the instructions to the printer how to print it layer by layer. The software uses files of the type .stl. STL files are 3d modeled objects. The best part about the Bambu Lab software is that it is connected to MakerWorld directly, and you can find thousands of designs and send them directly to the software without having to do extra conversions. Just browse MakerWorld to pick a design and send it to the software. Did I mention that all the MakerWorld designs are free? Yep!
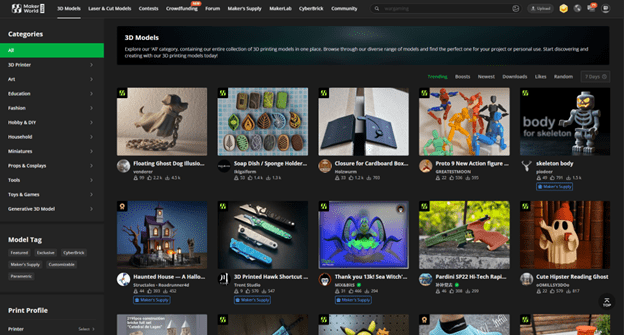
There are other sites that contain 3D designs (STL files) like Cults3D and Thingiverse, but some for a cost.
To be honest, the software part is the one that might seem the most daunting and complicated. But there’s hundreds of videos on YouTube on how to use Bambu Lab specifically. And once you know what profile to use for your printer depending on the quality, other than that it’s patience. Printing time depends on the size and complexity of the object. Some will print in 40 minutes, and others will print in hours. The good news is you can leave it printing overnight, and you don’t have to pay attention to it. But if you still feel like you need to monitor it, the printer comes with a mobile app called Bambu Handy, which lets you monitor the status of the printer, and it even comes with a camera so you can look at the print bed on the app.
Make your own designs.
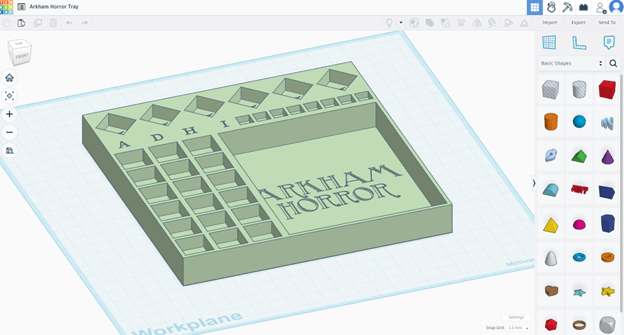
As I mentioned in the beginning, I’ve also been creating my own designs. This might be a little bit more advanced, but I want to share how I do it anyway. I use the website Tinkercad to make my designs. This is a free tool that lets you design 3D models using basic shapes and tools. This tool has been enough for now, since my designs are not that complicated. Basically, you create your object using the shapes, and then you export them as STL. Once you have the STL file, you open it in Bambu Studio and send it to the printer.
Note: Metric system will become your best friend! Everything is more accurate and easier to measure using millimeters (mm).
This is definitely not a step-by-step tutorial, but I wanted to share my journey and basics on how to get into 3D printer and what you should research deeper. There’s a lot of information out there and it can get overwhelming, so I hope with this at least you know the basic terms and things you should look into.
If you have questions, please feel free to reach out to me!
Happy Learning!